
Starlink Mini can run from 12V off grid power systems without an inverter when the battery circuit can supply stable voltage, enough current, and proper fuse protection.
A direct DC setup uses less battery energy than an AC inverter setup. The main concern is voltage drop. Long or undersized 12V wiring can cause unstable operation even when the battery still has charge.
How Starlink Mini Fits Into a 12V Off Grid Power System
Starlink Mini accepts 12V to 48V DC input and has a 60W maximum input rating. Average power use is about 25W to 40W, depending on weather, location, and network activity. Its built-in Wi-Fi router can reduce the number of devices on your power system. Starlink Mini specifications confirm its DC input range, typical power use, and USB-C PD requirements.
A basic system has these parts:
Solar panels → charge controller → 12V battery → fuse and switch → Starlink Mini
The battery supplies power when solar production is low. The solar controller sends power to the battery when panel output is higher than total DC loads.
Keep Starlink on a separate fused branch circuit. Avoid sharing its feed with high-current equipment such as an inverter, water pump, compressor fridge, or winch. Those loads can pull battery voltage down for a short time and cause network dropouts.

Choose a Direct DC Power Method That Meets Starlink Mini Requirements
Use a DC power method rated for the full Starlink Mini requirement, with room for normal voltage drop and short power peaks.
The supplied Mini DC power cable is the simplest option for a fixed RV, boat, cabin, or battery-box installation. Connect it to a properly fused 12V branch circuit with short battery-side wiring.
A second option uses Starlink’s USB-C-to-barrel cable. That method needs a USB-C Power Delivery source rated at 100W, 20V, and 5A. Your 12V system needs a DC-to-USB-C PD converter that can supply that output continuously. A normal USB phone charger cannot power Starlink Mini reliably.
| Power Method | Best Fit | Key Requirement |
|---|---|---|
| Supplied Mini DC cable | Fixed 12V installation | Short, low-loss wiring run |
| 100W USB-C PD converter | Portable battery system | 20V, 5A output |
| Car adapter | Temporary vehicle use | Outlet and wiring rated for continuous use |
Use a battery or regulated DC source. Do not connect Starlink directly to a solar panel. Panel voltage changes with sunlight, shade, temperature, and load. A battery stabilizes the circuit and keeps the dish running when clouds pass.
Starlink Mini installation instructions also recommend checking the app for obstructions and confirming that cables and connectors are fully seated.
Estimate Battery Runtime From Starlink Mini Power Consumption
Use watt-hours to estimate runtime. Amp-hours alone do not show total stored energy unless battery voltage is included.
Battery watt-hours = battery voltage × battery amp-hours
Runtime hours = usable battery watt-hours ÷ average load watts
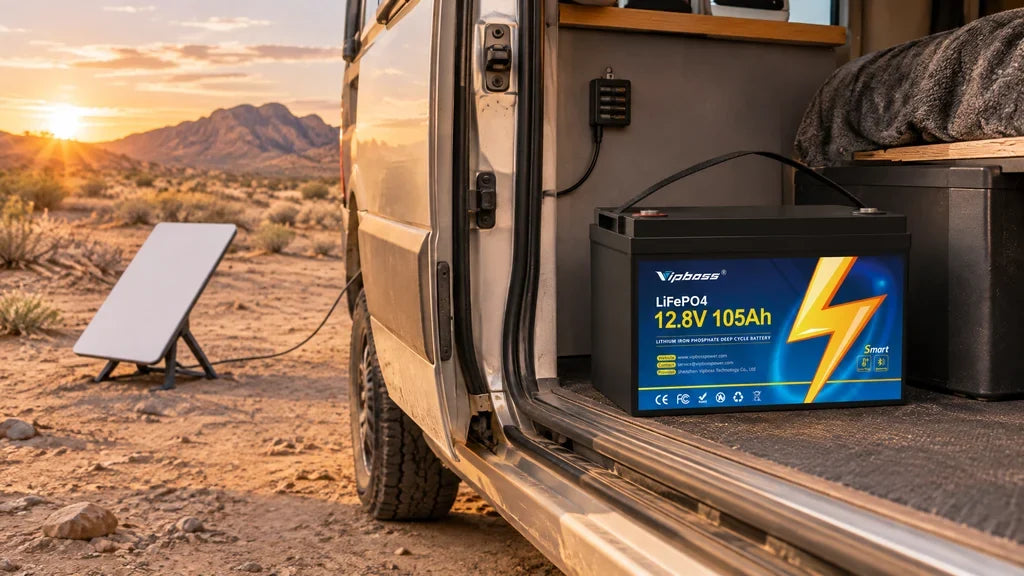
A 12.8V 100Ah LiFePO4 battery stores about 1,280Wh. For trip planning, reserve part of that capacity for battery age, cold weather, low solar output, and unexpected loads. Using 80% as planning energy gives about 1,024Wh.
| Battery Size | Usable Planning Energy | 30W Starlink Load | 40W Starlink Load |
|---|---|---|---|
| 12.8V 100Ah | 1,024Wh | About 34 hours | About 25 hours |
| 12.8V 200Ah | 2,048Wh | About 68 hours | About 51 hours |
| 12.8V 320Ah | 3,277Wh | About 109 hours | About 82 hours |
Add every device connected to the same battery system. A 12W external router, 8W USB-C converter loss, 6W Ethernet adapter, and 5W fan add 31W. If Starlink averages 30W, the total becomes 61W. A 100Ah battery with 1,024Wh of planning energy would last about 17 hours.
Use actual measurements when possible. A DC watt meter or battery monitor can record real power use over several hours. An off grid battery bank sizing article can help compare battery capacity with daily energy demand.

Size Cables, Fuses, and Connectors for a 12V Installation
Size battery-side wiring for current, cable length, insulation rating, and installation conditions. A 60W load can draw about 5A at 12V before converter and cable losses. A 100W USB-C PD converter can draw more than 8A from the 12V battery at full output.
Use these installation rules:
- Put a DC-rated fuse close to the positive battery terminal.
- Select fuse size from the smallest cable’s safe amp rating and equipment instructions.
- Keep positive and negative cable paths close in length.
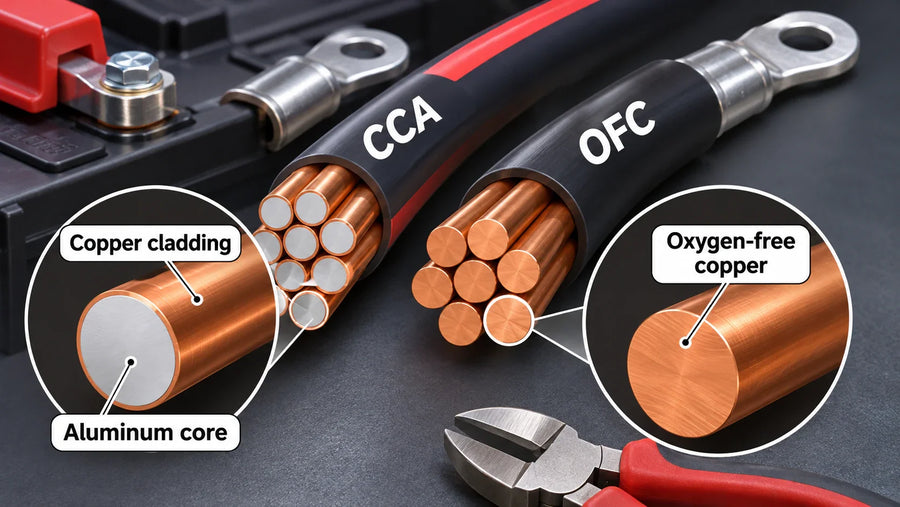
- Use crimp terminals that match cable size and terminal studs.
- Add grommets where wiring passes through metal.
- Secure cables against vibration and chafing.
- Cover exposed positive terminals.
- Use marine-grade connectors in wet or salt-air environments.
Voltage drop matters more in 12V systems than in 24V or 48V systems. Check voltage at the battery terminals and at the Starlink input while the dish is operating. A large difference points to cable loss, a weak connector, a loose crimp, or undersized wire.
Check fuse holders, plugs, and terminals after 20 to 30 minutes of operation. Unusual warmth indicates resistance.
Test the Setup Before Leaving Shore Power or Marina Power
Test the complete system from battery power before you leave shore power, marina power, or a home charging source.
- Charge the battery fully.
- Disconnect shore power or turn off the battery charger.
- Turn on Starlink and all normal connected devices.
- Check battery voltage after five minutes and after one hour.
- Inspect fuse holders, wiring, and connectors for heat.
- Check the Starlink app for network status and obstruction alerts.
- Run the setup through a normal evening or work session.
- Record battery state of charge at the end.
Test with realistic loads. If you use Starlink for remote work, connect your laptop, router, phone chargers, and other normal equipment. A one-hour test with only the dish running can give a misleading result.

Record Your Tested Runtime Before Planning an Off Grid Trip
Treat your first runtime test as a baseline, then adjust your trip plan around the result. Record battery capacity, starting state of charge, average Starlink load, added devices, cable length, weather, solar output, and ending state of charge. Use the record to decide how long Starlink can stay on during cloudy weather and when other loads need to be limited. Repeat the test after changing batteries, cables, routers, or mounting locations. A tested number gives you a practical operating limit for your own off-grid setup.
Starlink Mini 12V Power FAQs
Does Starlink Mini Keep Its Wi-Fi Settings After Losing Power?
Yes. A normal power loss should keep the Wi-Fi network name and password. A factory reset clears those settings and requires setup again. Use a reset only after checking battery voltage, cable connections, and app alerts. Starlink reset instructions show the physical reset process.
Can a 12V Battery System Run Starlink Mini and an External Router?
Yes, if the battery, wiring, fuse, and DC converter can handle the combined load. Add the router’s actual wattage to your runtime calculation. A 12V router usually uses less stored energy than an AC router powered through an inverter.
Can You Recharge the Battery With Solar While Starlink Mini Is Operating?
Yes. Solar charging and Starlink use can happen at the same time. For trip planning, track net battery current. A positive charge current means solar input exceeds loads. A discharge current means the battery is supporting the difference.
Is the Starlink Mini DC Power Cable Suitable for Outdoor Use?
Yes, when the cable and connectors are fully seated. Starlink Mini has an IP67 rating with the DC cable and plug installed. Keep open connectors, USB-C converters, and indoor-rated power supplies in a dry compartment.
Can Starlink Mini Be Used While the RV or Boat Is Moving?
Yes, when the dish is securely mounted and your service plan permits mobile use. Check mount fasteners, cable routing, and sky visibility before travel. Do not rely on the kickstand or a loose temporary mount while the vehicle or vessel is moving.