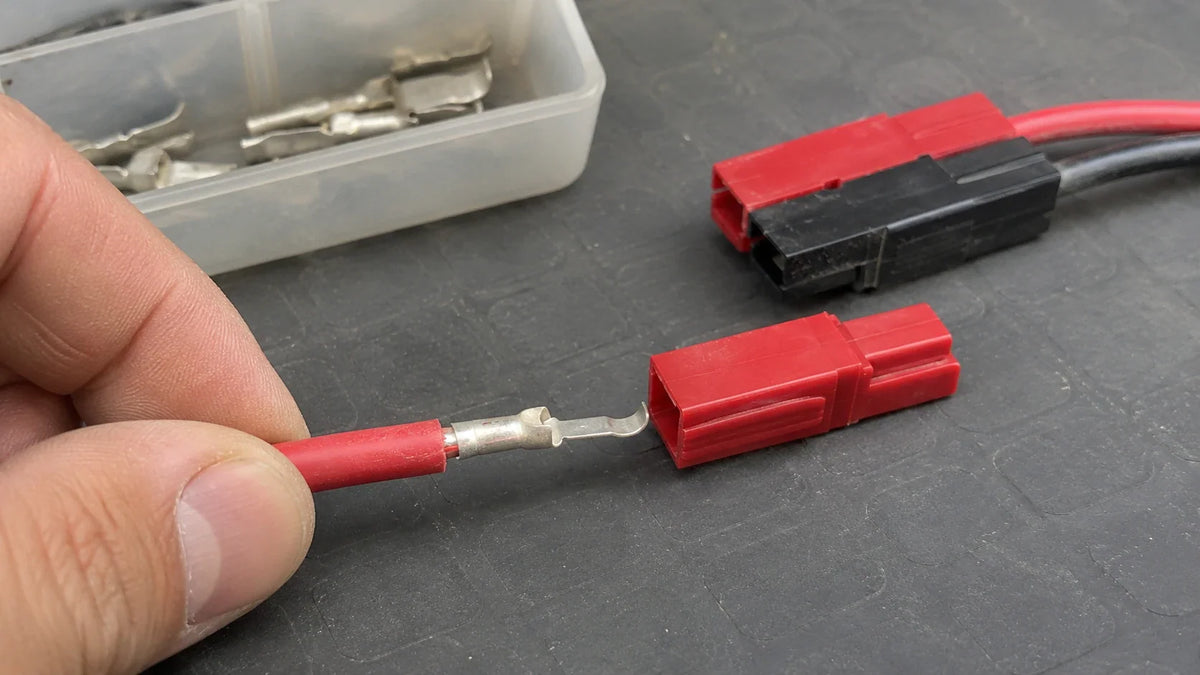

For the documented 15/30/45A-style Anderson Powerpole housings, place each contact's sharp edge against the flat internal spring and slide it in until it clicks. Then join the housings by sliding their dovetail joints together in the permitted direction. Check that each contact is seated and that the housing joints are fully engaged; do not snap the housings together or apart.
Prepare and orient the contacts
Complete the contact-to-wire attachment using the instructions for your specific contact and wire. For broader battery-side cable and terminal planning, see the battery installation parts guide. Before insertion, identify the flat spring inside each housing. For the documented 15/30/45A-style housings, place the contact's sharp edge against that spring. Use the diagram for your exact connector style to establish which contact belongs in each housing position and its polarity; do not infer polarity from this orientation rule alone.

Insert and join the housings

- Insert each contact in the documented orientation. Slide it into its housing until its tip passes over the internal spring and clicks.
- Check retention one contact at a time. The seated contact and attached wire should move slightly within the housing; confirm the contact remains in position rather than backing out.
- Join the housings. Align the dovetails and slide the housings together in their permitted direction. Do not snap them together or apart.
- Inspect the assembly. Confirm that each contact is seated and the dovetail joints are fully engaged rather than partly aligned or separated.
If a contact or housing will not fit
If a contact will not seat, stop rather than forcing it. Recheck that its sharp edge faces the flat housing spring and that you are using the diagram for the exact connector style. If the orientation is correct but the contact still will not insert or lock, inspect it for a widened or distorted shape that could obstruct it. Do not consider that contact complete unless it seats fully, clicks into place, and passes the slight-movement check.
If the housings will not slide together, check that the dovetails are aligned and that you are moving them in their permitted direction. Do not force or snap them together. Assembly is complete only when the contacts are seated and the housing joints are visibly fully engaged.
FAQs
How can I tell whether a Powerpole contact is fully seated?
For the documented 15/30/45A-style housings, the contact clicks as its tip passes over the internal spring, and the seated contact and attached wire move slightly within the housing.
How do I determine which contact goes in each Powerpole housing position?
Use the diagram for your exact connector style to identify each contact's housing position and polarity; the contact's sharp-edge orientation against the flat spring does not establish polarity.
Should Powerpole housings be snapped together?
No. For the documented 15/30/45A-style housings, align the dovetail joints and slide them in their permitted direction; do not force or snap them together.