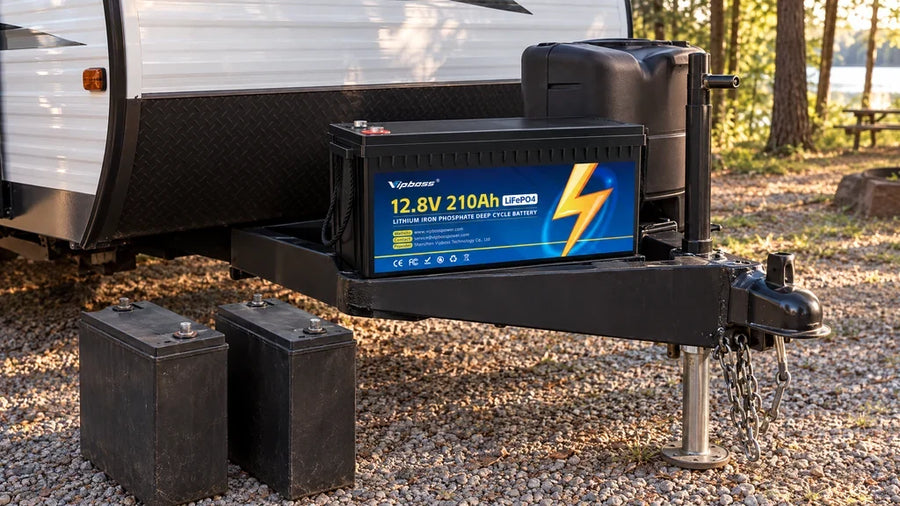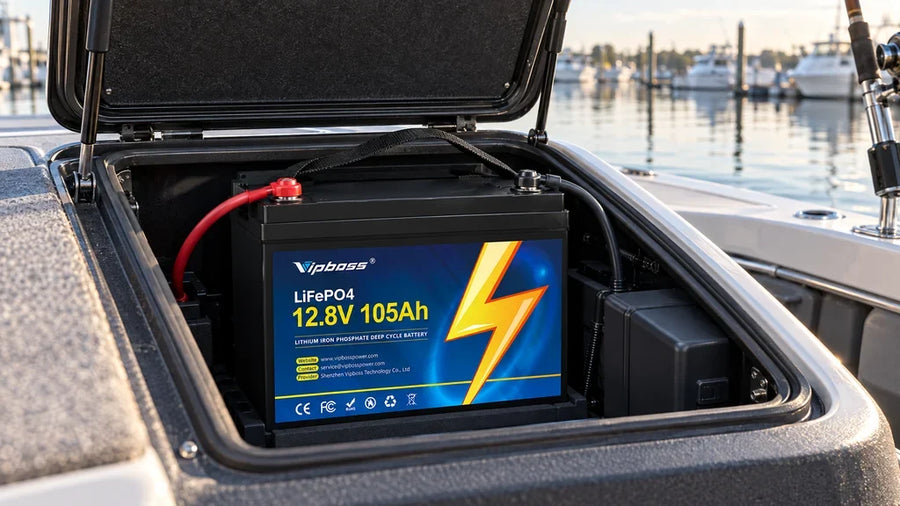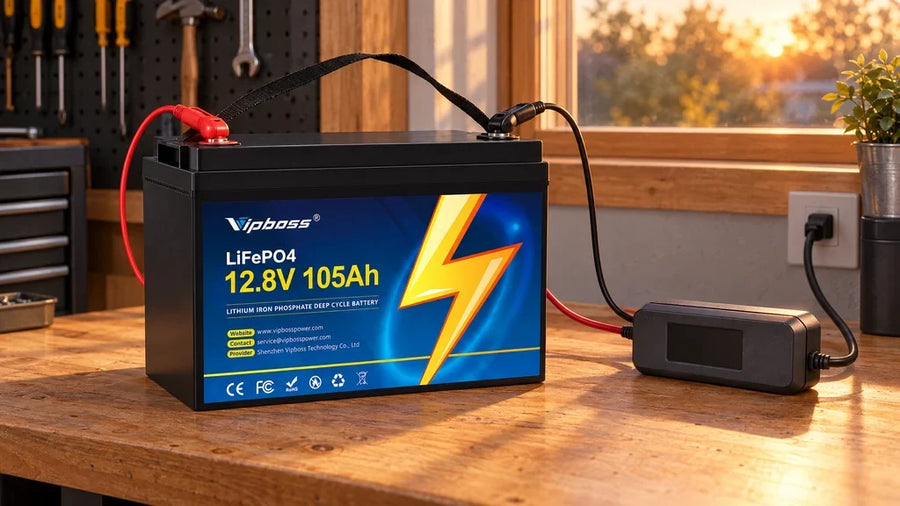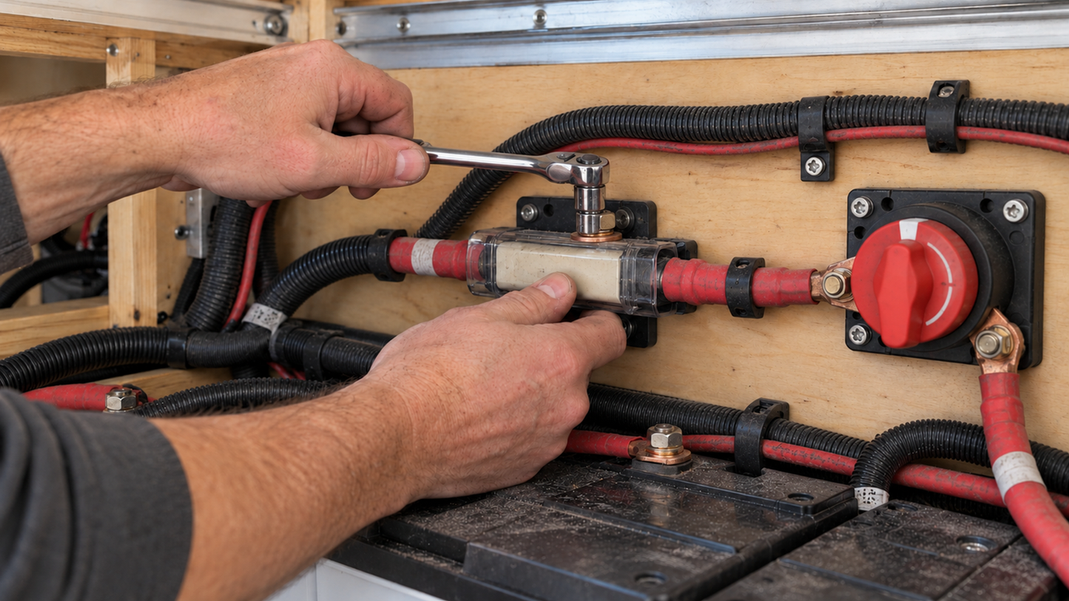

Buying the battery is only the first step. A complete lithium installation normally needs a compatible charging path, overcurrent protection, a service disconnect, correctly sized conductors and terminals, secure mounting, and a distribution plan. Monitoring may be built into the battery or added separately.
Use the checklist below to build the bill of materials. The exact ratings come from the battery, charger, inverter, load, vehicle or boat, and applicable installation instructions—not from a generic shopping list.
Core parts checklist
| Part | What it does | Selection input |
|---|---|---|
| LiFePO4 battery with BMS | Stores energy and protects the cells within the BMS design | System voltage, required energy, continuous and surge current, temperature range |
| Compatible charger or converter | Charges the battery using an approved profile | Battery charge voltage, maximum charge current, power source, environment |
| Main fuse or breaker | Protects the main positive conductor against excessive fault current | Cable protection limit, equipment instructions, system voltage, available fault current |
| Battery disconnect | Provides a defined way to isolate the battery for service or an emergency | DC voltage rating, current rating, switching duty, installation rules |
| Positive and negative cables | Carry current between the battery, distribution, charger, and loads | Maximum current, run length, voltage drop, routing, temperature, cable standard |
| Correct lugs, terminals, and heat-shrink | Make mechanically secure cable connections | Conductor size, stud size, terminal material, approved crimp method |
| Busbars or distribution block | Provide organized connection points for multiple circuits | Combined current, number of circuits, cover and mounting requirements |
| Branch fuses or breakers | Protect individual load and charging circuits | Each branch cable and connected equipment |
| Battery tray, box, or restraint | Keeps the battery secure and terminals protected | Battery dimensions, weight, movement, moisture, access and clearance |
| Monitoring | Shows battery or system status | Built-in Bluetooth, external shunt, display, required accuracy and history |
Some systems also need a current-limited DC-to-DC charger, solar charge controller, inverter, transfer equipment, battery heater, combiner, or communication cable. Add these only when the system design calls for them.
Start with the battery and every charging source
Confirm the battery chemistry, nominal voltage, energy, allowed charge and discharge current, temperature limits, terminal hardware, and approved series/parallel configuration. The BMS is part of the battery-protection strategy, but it does not replace the external fuse, disconnect, correct charger, or cable protection.
Next list every charging source: shore-power charger or converter, solar controller, vehicle alternator charger, outboard charging system, inverter-charger, or portable charger. Each source must have settings and output within the battery's documented limits. A plug that fits is not evidence of compatibility. MIT's lithium-ion battery safety guidance likewise emphasizes using suitable charging equipment and controls.
If one source cannot be verified, leave it disconnected until its role is resolved. A system is not compatible merely because one of several chargers has a lithium setting.
Build the protected current path

A typical high-level layout is:
battery positive → main protection → disconnect → positive distribution → protected branch circuits
battery negative → shunt (if used) → negative distribution → return circuits
The actual order and placement must follow the equipment and installation requirements. In particular, determine:
- Which conductor each fuse or breaker protects
- Where protection must be placed relative to the power source
- Whether the disconnect is rated to interrupt the expected DC current
- Whether busbars and terminals can carry the combined current
- Whether every downstream branch has protection appropriate to its cable and equipment
Do not choose the cable from the battery's amp-hour capacity. Size it from current, length, voltage-drop allowance, routing, temperature, bundling, and the applicable conductor rules. Match each lug barrel to the conductor and each lug hole to the terminal fastener; then use the specified crimping and insulation method.
Mounting and environmental parts are not optional
The battery needs a tray, box, bracket, or restraint that supports its dimensions and weight under the movement expected in the application. Protect the terminals from dropped tools and unintended contact. Leave the cable bend radius, service access, and clearances required by the equipment.
An enclosure rating on the battery applies to that product, not automatically to cable entries, busbars, fuses, chargers, or the completed compartment. Select covers, glands, boots, and mounting locations for the real exposure to water, dirt, vibration, and heat.
Applying the checklist to a 12V example
The Vipboss 12V 105Ah Bluetooth LiFePO4 battery combines a 12.8V, 105Ah pack, 1,344Wh of rated energy, a built-in 100A smart BMS, Bluetooth monitoring, M8 terminal bolts, low-temperature charge protection, and an IP65-rated enclosure.
Those specifications fill in only part of the checklist. The intended loads determine the cable, disconnect, distribution, and overcurrent-protection requirements. The battery documentation determines the charger settings and connection limits. The installation determines mounting, cable length, environmental protection, and whether an external shunt or display adds value.
Before energizing the system, label every cable and verify polarity, terminal torque, fuse type and rating, disconnect operation, charger configuration, and battery status. If any value was copied from another installation rather than derived from the equipment in this one, verify it before connection.