
To replace a sump pump backup battery, identify the battery approved for your installed controller, disconnect the system as its manual directs, remove the old battery, install and connect the replacement to the marked terminals, and test the backup pump before relying on it. Do not choose a replacement by voltage or case size alone. Battery chemistry, charger settings, cable connections, and test controls vary between systems.
1. Identify the correct replacement before disconnecting anything

Read the model number on the backup controller or pump, then find that model's battery replacement instructions. Check the required battery voltage, chemistry, capacity or battery group, terminal type, case dimensions, and any charger or controller setting. Buy a battery that meets those requirements. A car starting battery or a similarly sized battery is not automatically an approved substitute.
If you are considering a switch from lead-acid to lithium, check both the pump system and battery documentation first. The controller, charger, cable and fuse ratings, and the battery's discharge limits must all match. Our 12V LiFePO4 sump pump backup compatibility guide explains those checks; it does not mean every existing lead-acid backup accepts a lithium drop-in replacement.
Have the new battery and the system manual at hand before taking the backup offline. If the primary pump is unavailable or the sump is filling, arrange another way to protect the basement before disconnecting the backup.
2. Shut down the system and remove the old battery
Use the shutdown sequence for your model. A battery-box system commonly has these physical stages, but its manual decides the order of power, pump, and battery disconnections:
- Turn off or unplug the charger or controller as directed. If the manual requires the primary pump or other equipment to be isolated for service, do that too. Confirm which equipment must be restored later.
- Put on eye protection, ventilate the area, and keep flames, sparks, and loose metal tools away from the battery. Open the battery enclosure only after following the system's isolation instructions.
- Photograph or label each cable at its marked positive (+) or negative (−) terminal. Check the terminal markings themselves; do not infer polarity from cable color. Follow the manual's cable removal order, then keep disconnected cable ends from touching each other or the opposite terminal.
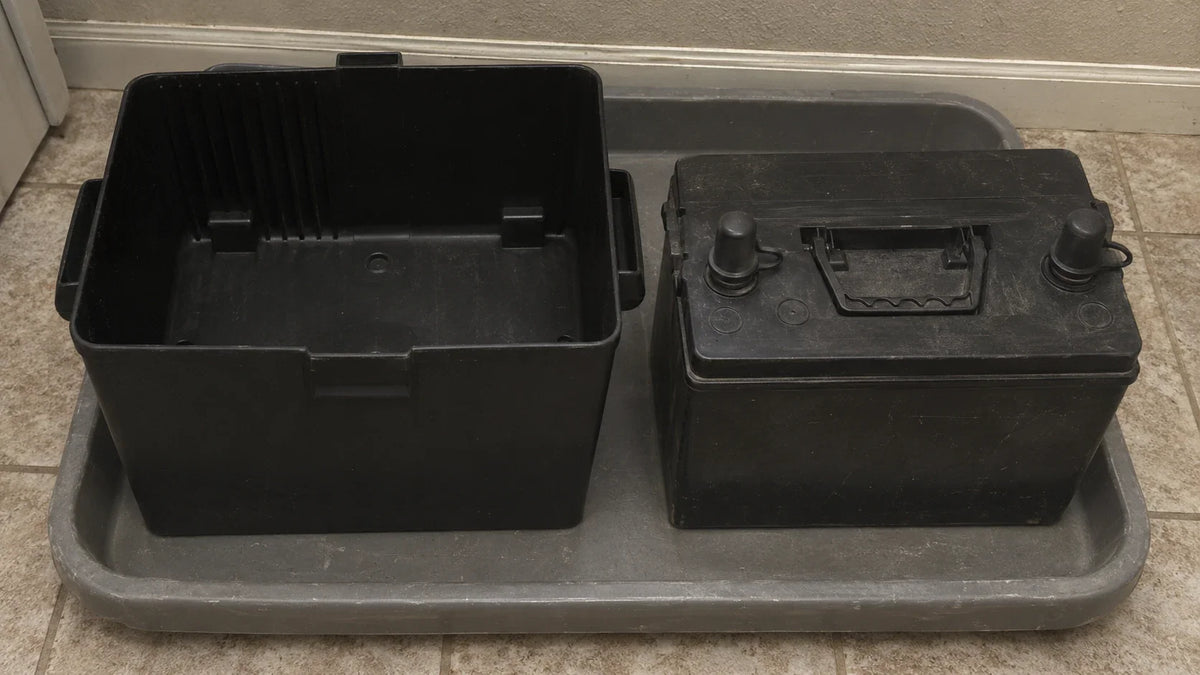
- Release the battery hold-down or box fittings, if fitted. Lift the old battery out without pulling on its cables. If it is leaking, swollen, or damaged, stop and use the battery maker's handling instructions or a qualified service provider.
This is an actual battery removal sequence, but it is not a substitute for model-specific disconnection order. Published backup-system manuals differ in cable colors and controller arrangements. Copying another system's color code can reverse the connection.
3. Install and reconnect the new battery

- Check that the replacement matches the approved specification and that its case and terminals fit the enclosure without forcing the cables. Inspect the cable ends and enclosure for corrosion or damage. Clean or replace parts only as the system manual permits; do not hide corrosion beneath a loose connection.
- Place the new battery in the box or tray in the orientation shown by the manual. Refit its hold-down or enclosure hardware so it cannot shift or strain the cables.
- Attach each lead to the battery terminal identified by polarity and the system wiring diagram, in the order specified for that model. Secure the connectors with the specified hardware and check that they are firm. Never bridge the terminals with a tool, and stop if the labels, wiring, or terminal layout do not agree with the manual.
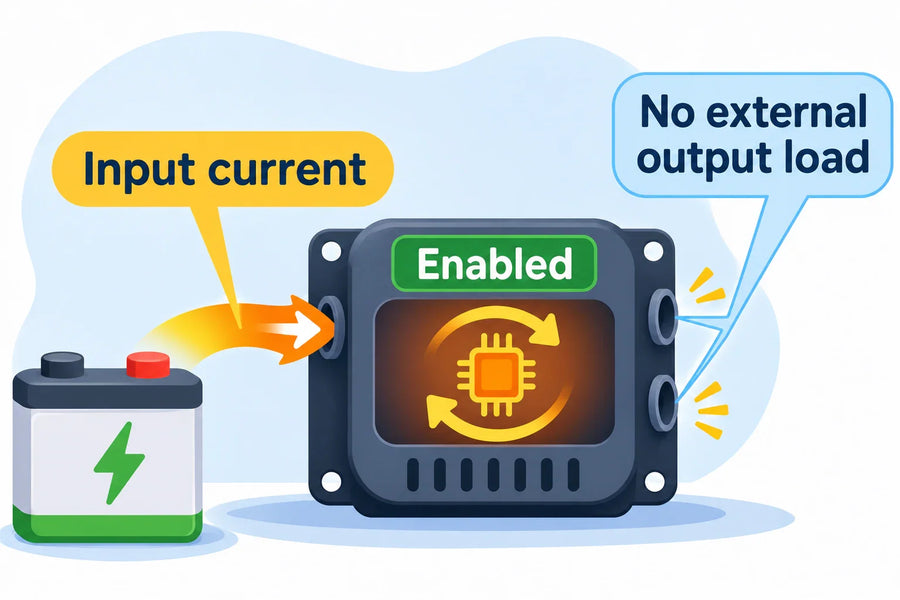
- Refit the battery-box cover. Restore the controller, charger, pump connections, and any battery-type setting in the order the manual specifies. Check for an expected ready or charging indication and resolve any fault alarm using that model's instructions.
Do not treat an illuminated charger light as proof that the backup pump works. It only confirms the indication described by that controller. The pump still needs a functional test.
4. Test the backup before returning it to standby

Run the test prescribed for your system while you can watch the sump. A complete check confirms that the backup pump starts, moves water out of the pit, stops at the expected level, and produces the expected alarm or status response. Some manuals call for temporarily isolating the primary pump and adding water until the backup float activates; others provide a dedicated test control. Use the procedure and reset sequence for your model, and restore the primary pump and charger afterward.
Check the controller again after the test. If the backup pump does not start, fails to move water, reports a battery or wiring fault, or leaves an unexplained alarm, the system is not verified. Recheck the model's installation and troubleshooting instructions or have it serviced before relying on it during an outage.
Return a spent lead-acid battery to a battery retailer or an appropriate battery collection program. Do not place it in household trash or a curbside recycling bin; the US EPA battery guidance explains the collection options.
The replacement is complete only after the pump test passes
The right battery and a clean connection are necessary, but the job is finished only when the controller is back in its normal state and the backup pump has passed the model's operational test. If you cannot identify the approved battery, the connection order, or the expected test result, pause the replacement and obtain the installed system's instructions or qualified help.
Frequently asked questions
Can I replace a lead-acid sump pump backup battery with LiFePO4?
Only if the installed pump system and charger support that chemistry and the replacement meets the required electrical, physical, and temperature limits. Matching nominal voltage alone is insufficient.
Should I connect the red or black cable first?
Use the terminal polarity markings and connection order in your controller's manual. Cable colors are not consistent across every backup system, so a universal red/black sequence is unsafe to assume.
Is a charging light enough to confirm the new battery works?
No. Check the expected controller status, then run the prescribed pump test and verify that water leaves the sump. Restore the primary pump and any controls to their normal state when the test is complete.