
A properly powered LED light bar should not shorten a healthy battery’s life by itself. The trouble usually comes from one of three mismatches: the bar is left running with the engine off, the wiring is undersized or poorly protected, or the control circuit lets the bar remain connected as a standby load.
The safest setup is a dedicated, fused power circuit with a relay, a switch that is disabled when the ignition is off, and wiring selected for the bar’s actual current and cable length. For regular engine-off lighting, use an auxiliary battery or another power source designed for repeated discharge rather than relying on the vehicle’s starting battery.
Decide where the light bar’s energy will come from
Engine running: the charging system supplies most of the load
With the engine running, the alternator normally supplies the vehicle’s electrical loads and replaces energy used by the starting battery. That does not mean the alternator has unlimited capacity. Headlights, heated equipment, a winch, fans, audio equipment, and other accessories may already use much of its output.
Check the vehicle and alternator specifications before adding a large bar. A useful first estimate is:
current (amps) = power (watts) ÷ system voltage (volts)
For example, a bar rated at 120 W would draw about 10 A at 12 V. Actual current can differ because vehicle voltage varies while charging and because some product wattage ratings are nominal. Use the manufacturer’s current rating when it is available, and measure the circuit if the rating is unclear.
If the charging system cannot keep up, the battery may gradually make up the difference even while the engine runs. That is a charging-capacity problem, not evidence that LED technology is inherently hard on batteries.
Engine off: the battery is the fuel tank
When the engine is off, every minute of operation comes from the battery. A starting battery is designed to deliver a short burst for cranking, not repeated deep discharge. Even a relatively efficient LED bar can consume meaningful energy during a long campsite, worksite, or roadside session.
Estimate theoretical runtime with:
runtime (hours) ≈ battery capacity (amp-hours) ÷ light-bar current (amps)
Treat that as an upper-bound estimate, not a promise. Battery age, temperature, battery chemistry, starting reserve, other vehicle loads, voltage cutoff settings, and the battery’s recommended usable depth of discharge all reduce practical runtime. If starting the vehicle afterward matters, leave a substantial reserve rather than running the calculation down to zero.
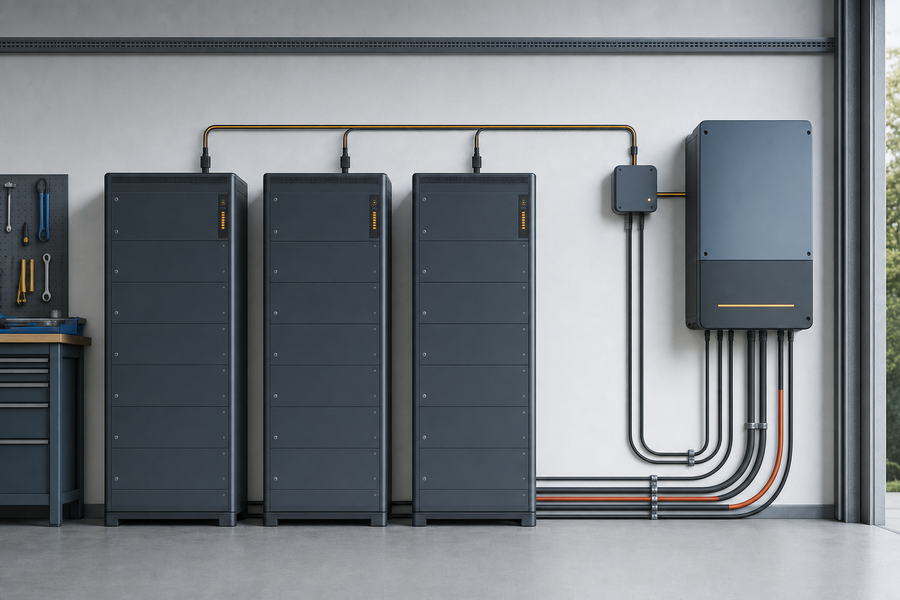
For frequent or extended engine-off use, power the bar from a suitable auxiliary or deep-cycle system. Keep the starting battery isolated with an appropriately designed battery-management or charging arrangement; do not assume that simply adding a second battery automatically protects either battery.
Build a circuit that fails safely

A typical arrangement is:
battery positive → fuse near the battery → relay contact → light bar positive
The light bar negative returns to a suitable ground point or the battery negative, according to the vehicle and harness instructions. The relay coil is controlled by a low-current switch, ideally using an ignition- or accessory-switched trigger. This lets the switch control the bar without routing the bar’s full current through the dashboard switch or a factory lighting wire.
A relay does not reduce the light bar’s power consumption, recharge the battery, or replace circuit protection. Its job is to switch the high-current path using a lower-current control signal. The fuse is there to protect the cable and surrounding vehicle from a short circuit.
Disconnect the negative battery terminal before working on the wiring, keep the fuse close to the power source, and secure the harness away from exhaust heat, sharp edges, moving parts, and water paths. Use sealed connectors and proper crimps where the environment demands them. A manufacturer installation guide for LED light bars is useful for the specific harness sequence and relay arrangement.
Size the wire and fuse from the real load
Do not choose a fuse because “that is what most light bars use.” Start with the bar’s rated or measured current, then account for the total one-way cable run, routing, insulation temperature, bundling, and the applicable wiring standard. Longer runs have more voltage drop and may require larger conductors even when the amp load is unchanged.
Use the light manufacturer’s harness recommendation when it is supplied and appropriate for your installation. Otherwise, have the cable selected using a reliable DC wire-sizing table or an installer who can account for the complete circuit. A wire-size recommendation copied from a short bumper installation may not suit a roof-mounted bar with a much longer route.
Select the fuse so it protects the smallest conductor in the protected section. The Blue Sea Systems fuse-selection guidance explains the important rule: the fuse must protect the wire, while the product maker’s specified fuse value should also be respected. If the specified value would exceed the cable’s safe rating, use a larger cable or correct the design—never solve it by installing a larger fuse blindly.
The fuse should be the next suitable standard value above the normal operating current only when that choice remains within the cable and component ratings. If a fuse repeatedly opens, find the cause. Do not keep increasing the fuse size.
Prevent a hidden overnight drain
The control circuit should make it difficult to leave the bar powered accidentally. A practical approach is to feed the relay trigger from a switched source so the bar turns off when the ignition is off. The high-current feed can still be connected directly to the battery, but the relay must open when the trigger disappears.
Check the result with the vehicle parked and locked: the bar should be off, the switch should not illuminate unexpectedly, and no relay should remain energized. A stuck relay, damaged insulation, incorrectly chosen trigger, or an always-on switch can turn an accessory into a parasitic load. Vehicle electronics may also need time to enter sleep mode before a key-off current measurement is meaningful; a parasitic-draw diagnostic guide describes the general test precautions.
Do not tap the high-current bar feed from a headlight, wiper, or other factory circuit unless the vehicle documentation and circuit ratings explicitly support it. Use the factory circuit only as a properly protected control signal when appropriate, not as an unverified power source.
Commission the installation before relying on it
Test the system in stages rather than switching on the bar and assuming it is sound:
- Inspect the routing. Confirm that the cable is supported, protected at pass-throughs, and clear of heat and moving parts.
- Verify polarity. Check positive, negative, relay terminals, connector orientation, and ground points against the harness instructions.
- Check protection. Confirm the fuse is near the battery and matches the designed cable and load ratings.
- Test the interlock. With the ignition off, verify that the bar cannot be switched on. Test again with the engine running.
- Watch for heat. After several minutes at full output, inspect accessible terminals, connectors, fuse holders, relay, and cable. Warmth, discoloration, a hot-plastic smell, flickering, or a voltage drop at the bar indicates a problem to correct—not a reason to fit a larger fuse.
- Check charging voltage and load behavior. If the vehicle struggles to start after use, or voltage falls noticeably with the bar and other accessories operating, have the battery and charging system tested.
If you are working on a modern vehicle with sensitive electronics, an off-road vehicle with unusual grounding, or a high-power multi-bar installation, use the vehicle wiring diagram and a qualified automotive electrician. The cost of checking the design is small compared with a damaged harness, a failed control module, or a vehicle that will not start.
The battery-life rules that matter most
- Run the bar while the engine is running when practical, but stay within the charging system’s capacity.
- Use the bar’s real current draw, not its physical size or an assumed amp figure.
- Install a dedicated circuit with a correctly sized cable, fuse, relay, connectors, and ground.
- Put the fuse close to the battery or other source of unfused power.
- Make the relay trigger ignition-switched unless engine-off operation is intentional.
- Reserve a starting battery for starting; use an appropriately sized auxiliary/deep-cycle battery for repeated engine-off lighting.
- Stop and diagnose heat, flicker, voltage drop, blown fuses, or unexplained key-off drain.
The goal is not to make the light bar draw less current than its design requires. It is to make the energy path predictable: the charging system supplies it when the engine is running, a suitable auxiliary source supplies it when the engine is off, and the fuse, wiring, relay, and switch prevent avoidable damage or drain.