
Start with the symptom, then inspect the harness with the cart powered down: look for a loose connector, damaged insulation, corrosion, heat marks, or a cable that has pulled against its terminal. If you find one, photograph the routing, correct that connection, and retest only after polarity and routing match the cart's wiring diagram. If the harness looks sound but the cart still will not move, charge, or power its display, stop guessing at wire locations and check the battery, charger, controller, and cart-specific diagram as a connected system.
Make the cart safe before inspecting the harness
Turn the key off and unplug the charger before inspecting the harness. Follow the applicable cart and battery instructions for any additional isolation steps. Do not continue inspecting a cable or connector that is hot, melted, smoking, swollen, or giving off an unusual smell; stop and follow the applicable service instructions before proceeding.
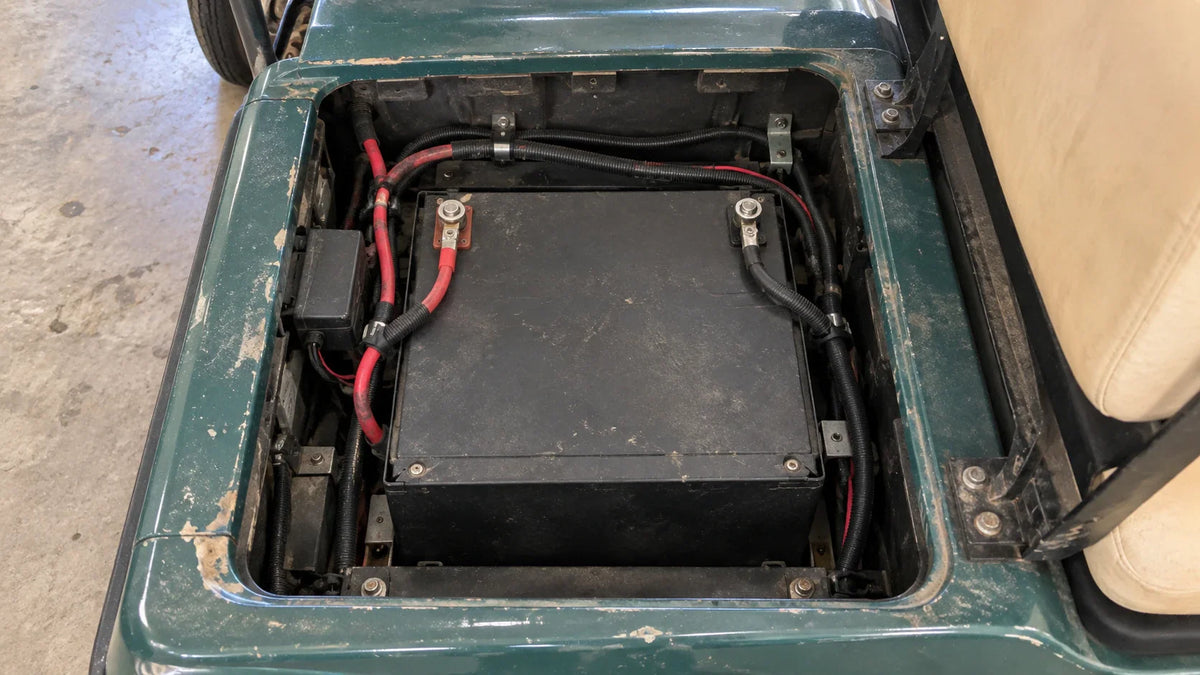
Do not disconnect wires before taking clear photographs. Capture both ends of each harness, the path around the battery tray, and any accessory connections. A wiring harness is not only a bundle of wires; its routing and connector positions are part of the repair reference.
Check the harness from the battery outward
Begin at the battery terminals and follow each main cable toward the controller, charger connection, solenoid, display, and accessories. Check for these visible problems:

- A terminal or plug that can move by hand
- Corrosion, moisture, or dirt inside a connector
- Frayed insulation or a wire pinched under a tray or seat base
- Darkened plastic, melted insulation, or a burnt smell
- A cable resting against a sharp edge or hot component
- A connector that is partly inserted or locked incorrectly
- A replacement wire that does not follow the original route
A loose or corroded connection can create an intermittent fault. The cart may work when still, then lose power when vibration or motor current moves the connection. A damaged cable can also show normal behavior at rest and fail under load. That is why a visual check should come before repeatedly replacing parts.
Match the symptom to the section of harness
If the cart does not power on, trace the battery-to-controller and key or enable connections first. If the cart powers on but will not move, inspect the controller, solenoid, direction switch, accelerator wiring, and their connectors. If the display works but the battery does not charge, inspect the charger plug, charge-port wiring, and the connection between the charger and battery system.
If the problem began immediately after a lithium conversion, compare the new wiring with the conversion instructions and the cart's model-specific diagram. Do not assume that a connector fits correctly just because its plug shape matches. Confirm the connector's purpose, polarity, and destination before reconnecting it.
Use a multimeter only when you know the test point and the expected value from the applicable manual. Do not invent a voltage threshold from a different cart or battery. A reading that appears reasonable at the battery does not prove that power reaches the controller through the harness.
Repair the actual fault, then retest one change at a time
A connector that is loose should be fully seated and secured using the correct replacement terminal or connector. A corroded or heat-damaged part should be replaced rather than covered with tape. A cable with damaged insulation should be rerouted or replaced so it cannot rub against the frame. Do not bypass a fuse, safety switch, battery-management connection, or charger-control connection to make the cart operate temporarily.
After one repair, compare the final routing with your photographs and diagram. Check that terminals cannot contact the frame, connectors are locked, and cables are supported without being sharply bent. Then perform the smallest appropriate retest. If the same symptom remains, return to the last unchanged connection instead of changing several components at once.
If the harness passes inspection but the symptom remains, the fault may be outside the harness. The battery-management system, charger profile, controller settings, solenoid, or a model-specific interlock can produce similar symptoms. At that point, the cart model, battery model, and exact symptom are needed before selecting a replacement part.
For a conversion-related harness repair, the Vipboss 36V 105Ah Lithium Golf Cart Battery Conversion Kit includes a charger, cables, connector parts, and a monitor for conversion and battery-status checks. Use it only after confirming that the cart's system voltage, connector arrangement, charger requirements, and installation diagram match the intended repair.