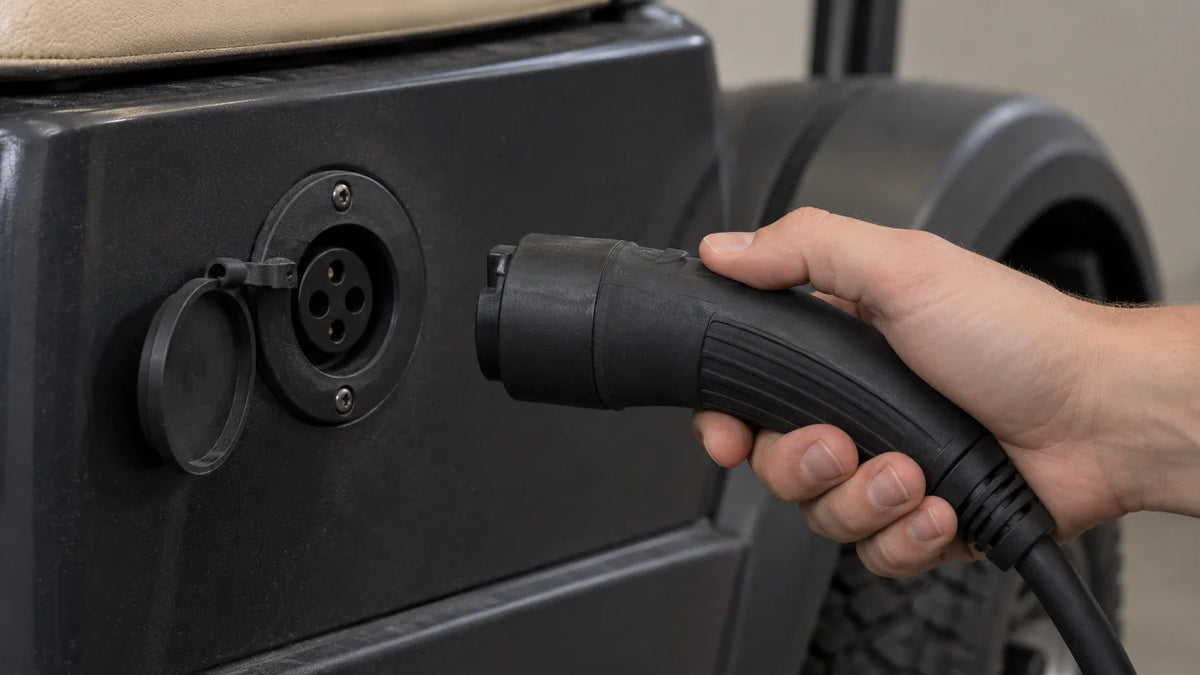

To connect a lithium charger to a golf cart, first confirm from the battery, charger, or conversion-kit instructions that the charger matches the battery pack's voltage and lithium chemistry. Turn the cart off, place it in the manufacturer's required parked or tow state, and inspect the charger and cables. If the charger uses separate leads, connect positive to positive and negative to negative; if it uses a dedicated plug, connect that plug to the battery's matching charge port. Stop if the labels, plug shape, or manual do not agree.
Check the charger and cart before connecting
Use the battery label, conversion-kit documentation, cart specifications, or charger instructions to identify the battery voltage and charging requirements. Then use the battery or conversion-kit instructions to confirm that the charger is intended for that voltage and lithium chemistry. If the instructions do not establish a match, do not proceed until the compatibility information is confirmed.
Do not rely only on the charger's physical plug. A plug can fit while the charger's voltage or charging profile is wrong. If the battery was recently converted from lead-acid, do not automatically reuse the old charger. Confirm compatibility with the battery or conversion-kit instructions first.
Inspect the charger housing, plug, cable insulation, and terminals. Do not connect equipment with damaged insulation, loose terminals, exposed conductors, or signs of overheating. Work in a dry, clear area away from heat and flammable materials.
Connect a charger with separate battery leads

Use this sequence when the charger has identifiable positive and negative leads rather than a single keyed connector:
- Turn the cart off and secure it so it cannot move. Follow the battery manual for any tow, service, or battery-power switch setting.
- Confirm the positive terminal or charge lead is marked
+and the negative terminal or charge lead is marked-. Do not identify polarity by cable color alone. - Connect the charger's positive lead to the battery's positive charging terminal.
- Connect the charger's negative lead to the battery's negative charging terminal.
- Check that both connections are fully seated and cannot touch adjacent terminals or metal parts.
- Follow the charger and battery instructions for the required order of connecting the battery-side leads and supplying power.
- Check the charger's indicator or the battery monitor. A charging indication should appear according to the equipment instructions.
The exact terminal arrangement varies by battery and conversion kit. Use the marked charging terminals and supplied connector parts rather than moving cables to a terminal that merely looks convenient.
Connect a charger with a dedicated plug

Some lithium conversion kits use a dedicated charger connector or an onboard charger. Match the connector to the battery's labeled charge port and push it in fully without forcing or twisting it. Then connect the charger to the appropriate power source as described by its instructions.
The supplied Vipboss 36V 105Ah Lithium Golf Cart Battery Conversion Kit is relevant when you are installing that specific conversion package because it includes a charger, cables, connector parts, and a monitor. You can review the Vipboss 36V 105Ah lithium golf cart conversion kit when you need a package containing those components. Confirm that your cart requires a 36V system and follow the kit's connection markings before using it.
Check the first charging cycle
Stay nearby while the charger starts. Look for the normal indicator state described in the charger instructions and check that cables and connectors remain secure. Stop charging if you see smoke, sparking, an unusual smell, excessive heat, repeated error lights, or a loose connection.
When charging is complete, follow the charger and battery manual for the required order of disconnecting the power source and battery-side connector or leads. Remove leads without pulling on the cable. Store the charger dry and protect the connector from damage.
If the monitor does not show charging, recheck the battery power switch, connector seating, polarity markings, and the compatibility information in the charger and battery instructions. Do not bypass a charger error or substitute a different charger to make the system start. Resolve the mismatch against the battery and charger instructions before another charging attempt.