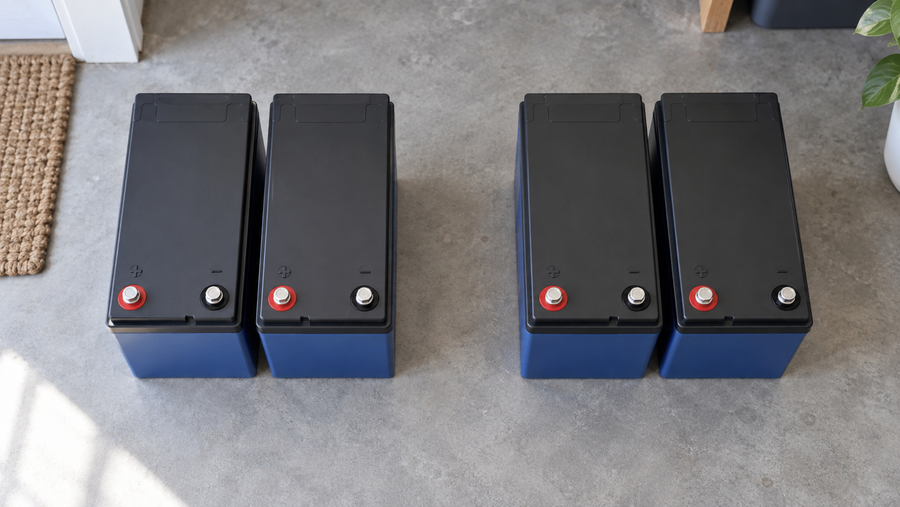

Use the LiFePO4 profile only when the exact battery and controller manuals support it, then enter the battery maker's charge voltage, absorption, float, equalization, and temperature settings. If the manuals disagree or do not give a profile, stop before connecting the solar panels and ask the battery manufacturer for settings for the exact model and system. Connect the controller to the battery first when the controller manual requires that sequence for system-voltage detection.
Check compatibility before changing settings
Before changing settings, compare the exact battery, controller, and solar-array manuals for the supported battery profile, nominal voltage, input range, and stated protection requirements. Continue only when those documents describe a compatible setup.
The correct values depend on the battery model and the specific system. Do not copy a number from another LiFePO4 installation. Use this manufacturer-first guidance to check whether the exact battery model has a documented profile and to contact the battery manufacturer with the battery and system details when it does not.
The Vipboss 12V 105Ah Bluetooth LiFePO4 battery has a 100A BMS and a low-temperature charging cutoff below 32°F (0°C), with charging resuming at 41°F (5°C). These product specifications do not provide a universal controller profile or charging voltage.
Enter the battery-specific charge profile

Find these fields in the controller menu and copy the values from the battery manual or a profile supplied for that exact battery and controller combination:
| Controller field | What to enter | Why it matters |
|---|---|---|
| Battery type | LiFePO4 or lithium, if the applicable profile supports it | Applies the documented charging behavior for that profile. |
| Maximum or absorption voltage | The battery manufacturer's value | Sets the voltage specified for completing the charge. |
| Absorption duration | The manufacturer's time or control method | Sets how the controller handles the absorption stage. |
| Float voltage | The manufacturer's value, or the specified disabled setting | Applies the documented float behavior instead of an assumed lead-acid value. |
| Equalization | The setting specified by the battery and controller manuals | Prevents a default assumption about whether equalization is appropriate. |
| Temperature compensation | The setting specified by the battery and controller manuals | Prevents an unsupported compensation rule from being applied. |
| Low-temperature charging | The cutoff or protection setting specified for this battery and controller | Applies the documented low-temperature behavior without turning the battery specification into a universal controller rule. |
If the controller offers only lead-acid presets and the manuals do not identify one as suitable for the exact battery, do not choose AGM, gel, or flooded merely because one seems close. Contact the controller or battery manufacturer for the applicable profile.
Connect and verify the controller in the right order
Before wiring, use the specific battery, controller, and array manuals to confirm the required disconnects, wiring, protective devices, and equipment ratings.
Connect the battery to the controller first, positive and negative, and then connect the solar array when that is the sequence required by the controller manual. Follow the documented battery-first installation sequence for the referenced controller for your own model rather than copying its unrelated voltage values. For that controller, the sequence supports automatic system-voltage detection.
After the controller powers up, confirm that it identifies the expected system voltage and battery type. If the displayed values do not match the applicable manual, follow that manual or contact the manufacturer before enabling solar input.
Know when the settings are not safe to guess
Do not use a generic setting when any of these conditions applies:
- The battery and controller manuals give different values or do not provide an exact profile.
- The controller cannot apply a setting required by the exact battery and controller documentation.
- The battery-bank voltage, array input range, or protection requirements do not match the applicable manuals.
- The controller displays values or conditions that do not match the applicable manual.
A suitable product option for a 12V LiFePO4 solar system is the Vipboss 12V 105Ah Bluetooth LiFePO4 battery. Choose it only when its capacity, physical fit, temperature limits, BMS limits, and documented charge profile match your installation.
Once the exact profile is entered and the controller identifies the battery bank correctly, enable the solar input according to the controller manual. Do not change a setting to address a fault until the applicable manual or manufacturer guidance identifies the cause.