To install an external LCD battery monitor in a lithium golf cart, begin by turning the cart off and consulting the cart, battery, and monitor instructions to identify the required isolation procedure and exact connection point. Mount the display where its cable can reach that point without contacting moving, sharp, or hot components. Connect the cable only after the display is secure, then restore power according to the equipment instructions.
Prepare the cart and the monitor

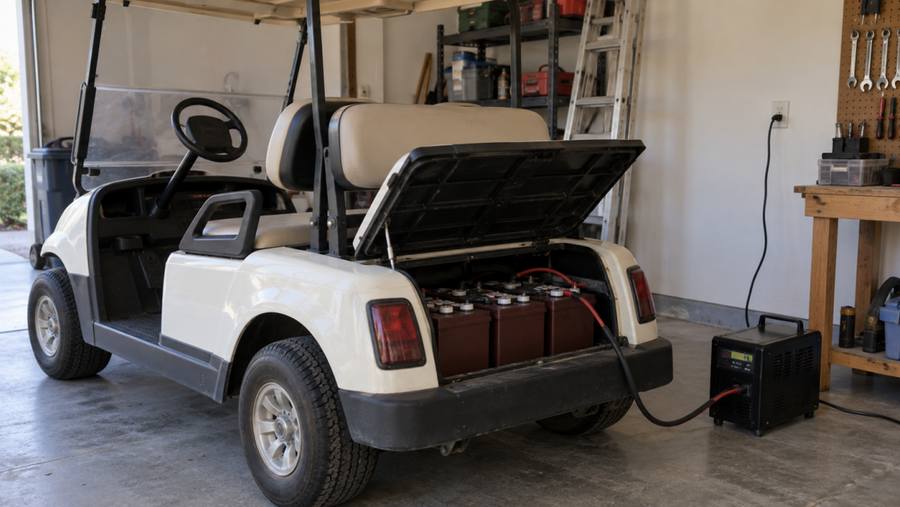
Park the cart on level ground, remove the key, and keep the direction selector in neutral or the manufacturer’s service mode. Put the battery system in its recommended disconnected or tow state before opening the battery compartment. If your cart or battery manual calls for disconnecting a terminal, follow that procedure and keep metal tools away from the terminals.
Check that the monitor, cable, mounting hardware, and any instructions are present. Do not assume that every LCD monitor uses the same wiring. A display designed for a shunt, a voltage input, or a particular battery communication cable may not work when connected to another point.
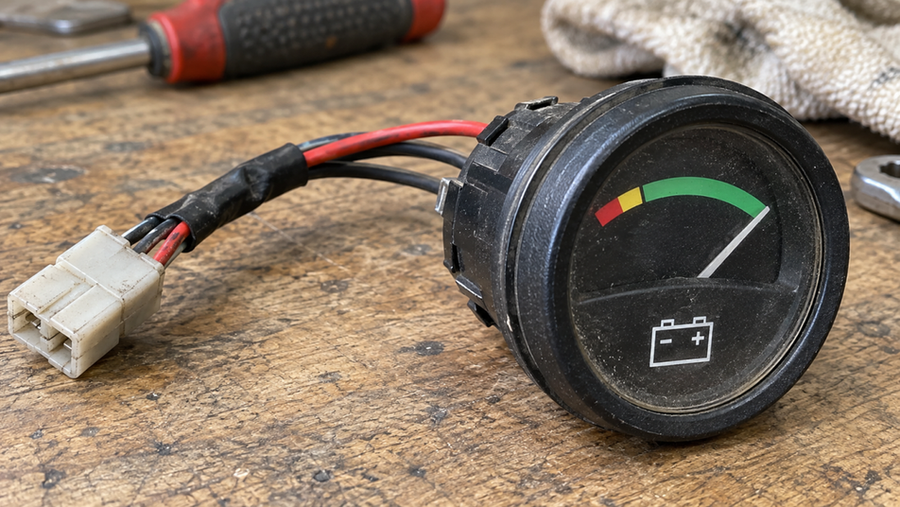
For an unfamiliar four-pin connector like the one in this lithium-conversion battery-meter wiring example, use the monitor’s documented pinout rather than inferring wire functions from the connector shape.
Mount the LCD display

Choose a flat dashboard location that is visible from the driver’s seat and leaves clearance behind the panel. Check both sides before drilling. The cable must reach the battery compartment without crossing moving parts, sharp edges, hot surfaces, or places where water can collect.
Mark the opening or mounting points using the monitor’s supplied hardware and dimensions. Drill only if the instructions require it. Secure the display so it cannot rotate or pull on the cable when the cart moves. Route the cable with gentle bends and secure it so vibration cannot rub through its insulation.
Connect the cable and restore power
With the battery circuit still isolated, connect the monitor cable to the matching display and battery-side connector. Seat the connector fully without forcing it. If the installation uses separate positive and negative leads, match them to the marked terminals in the instructions. Do not add a connection to a shunt, terminal, or parallel battery lead unless the monitor’s instructions specifically identify that connection point.
Before restoring power, inspect the cable for pinching, exposed conductor, loose terminals, or contact with a metal edge. Reconnect the battery system using the cart and battery manufacturer’s procedure, then switch the cart on. The display should illuminate or show a status screen. A blank display, warning symbol, or unexpected reading means the installation needs checking before use.
The Vipboss 48V 150Ah lithium golf-cart battery conversion kit includes an external LCD monitor and cable. Follow the kit instructions to confirm the exact connection point and setup sequence for that installation.