
A complete golf cart lithium conversion needs a model-specific installation plan before any wiring changes. Confirm the cart and kit voltage, fit, charger, connector layout, and required parts against both manuals; record the original wiring and the checks that will show the finished system works. The steps below are a planning checklist, not a verified wiring diagram for a particular cart. Stop before wiring if the cart voltage, terminal layout, charger, or included parts do not match; a 36V kit such as the Vipboss 36V 105Ah Lithium Golf Cart Battery Conversion Kit is suitable only when the cart's system and the kit instructions agree.
For an actual installation, use the cart and kit manufacturers' drawings and have a qualified installer document the model, kit part numbers, final connection layout, and acceptance test. Without those records, do not infer cable order or terminal torque from the generic sequence in this article.
Confirm the cart and kit match
Park the cart and follow the vehicle instructions for putting it in the required stationary or storage condition. Keep the cart disconnected from its charger while you work.
Identify the cart's system voltage from its label, service information, or existing battery arrangement. Check that the replacement battery, charger, monitor, cables, and any converter for accessories match that voltage and fit the available space. Stop if the voltage, terminal layout, included parts, or fitment do not agree with the applicable vehicle and kit instructions.
The Vipboss kit described here is a 36V package that includes a charger, cables, connector parts, and a monitor. Use those supplied parts only as directed by the kit documentation. Measure the battery compartment and confirm that the battery can be positioned and secured without interfering with the terminals or cable connections.
Record the original wiring before removal

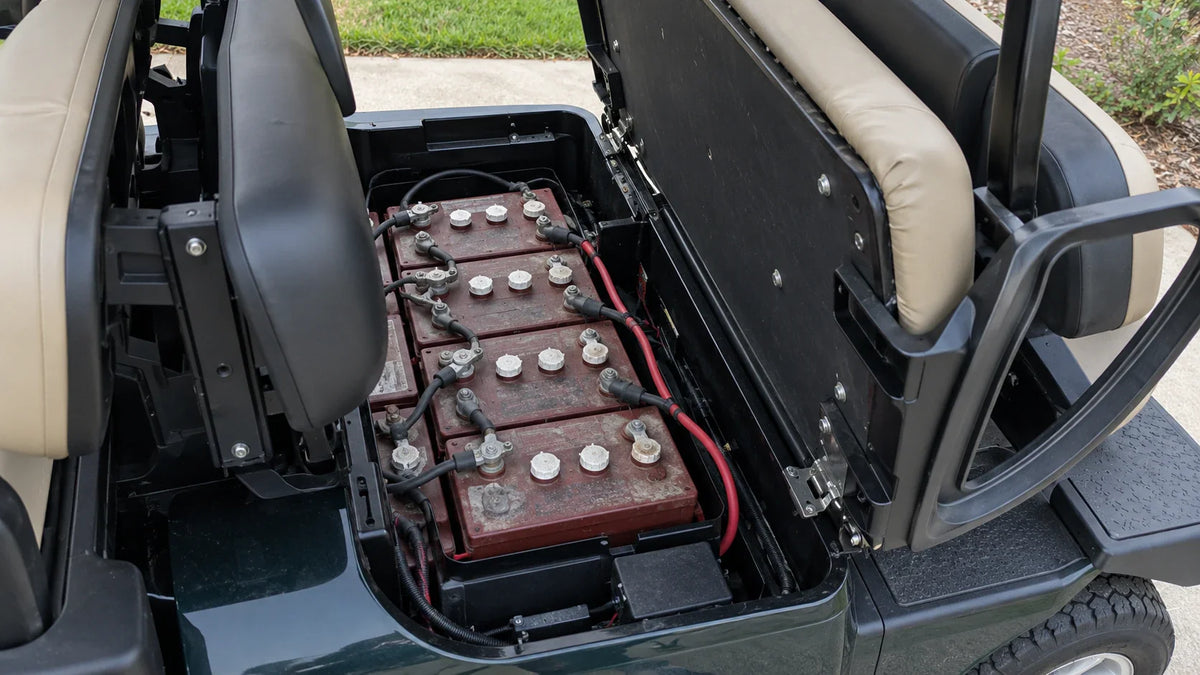
Take clear photos of the battery compartment from above and from each side. Include every cable, terminal label, connector, fuse, and accessory lead. Mark the cart's positive and negative leads with removable labels before disconnecting them.
Use the photos to identify the cart-side leads after removal, but do not copy the old battery layout onto the new battery. Connect the replacement system only according to the applicable vehicle and kit instructions.
Remove the old battery bank safely
With the cart isolated as directed by the vehicle and kit manuals, remove the old battery bank according to their required procedure. Keep the removed batteries and cables separate from the new installation hardware.
After removal, prepare the compartment for the new battery. Confirm that the battery can rest on a suitable surface and be secured as required by the vehicle or kit instructions before continuing.
Install the lithium battery and supplied connections
Place the battery in the measured position without forcing it into the compartment. Fit the supplied hold-down or bracket hardware, if included, and leave the access required for the terminals, monitor connection, charger connection, and service instructions.
Connect the cart-side cables and supplied connector parts in the order and configuration shown in the kit instructions. Confirm the connection layout before tightening or completing the installation. Do not substitute connectors or alter the supplied wiring arrangement unless the applicable instructions specifically direct it.
Route and secure the cables according to the vehicle and kit instructions so the connections remain suitable for the installed layout. Connect the monitor after the battery and main cables are installed as directed, and use its display only as one part of the post-installation check.
Connect and check the charger
Use the charger included with the kit only according to its instructions. Do not reuse the old charger unless the battery documentation confirms that it is suitable for the installed lithium system.
Before charging, confirm that the charger connection and plug match the installed system and that the connection follows the kit documentation. If the charger or monitor indicates an unexpected condition, stop and use the applicable vehicle or kit instructions to determine the next step.
If accessories must be reconnected, confirm their required connection method before completing that part of the installation. Do not assume that an accessory can connect directly to the main battery pack.
Test the finished conversion
Complete the inspection required by the vehicle and kit instructions before operating the cart. Confirm that the battery is secured, the connections are complete, the connectors are seated, and no loose installation hardware remains.
Switch the cart on and check the monitor and any available system indication. If the cart does not operate as expected, stop and compare the installation with the applicable instructions before continuing.
When the stationary check is complete, follow the vehicle and kit instructions for the initial operating check. Stop using the cart if the system shows an abnormal indication or the installation does not remain in the expected condition, and resolve the issue according to the applicable documentation.