
With the cart powered down, place the battery where it will sit, trace the actual route to the controller, charger, connector, or monitor, and measure that route; then choose the next available length that reaches without stretching, sharp bends, or a loose loop. If the battery location or connector layout is changing, mock up the route first rather than ordering from a stock length.
Measure the installed cable route, not the straight-line distance

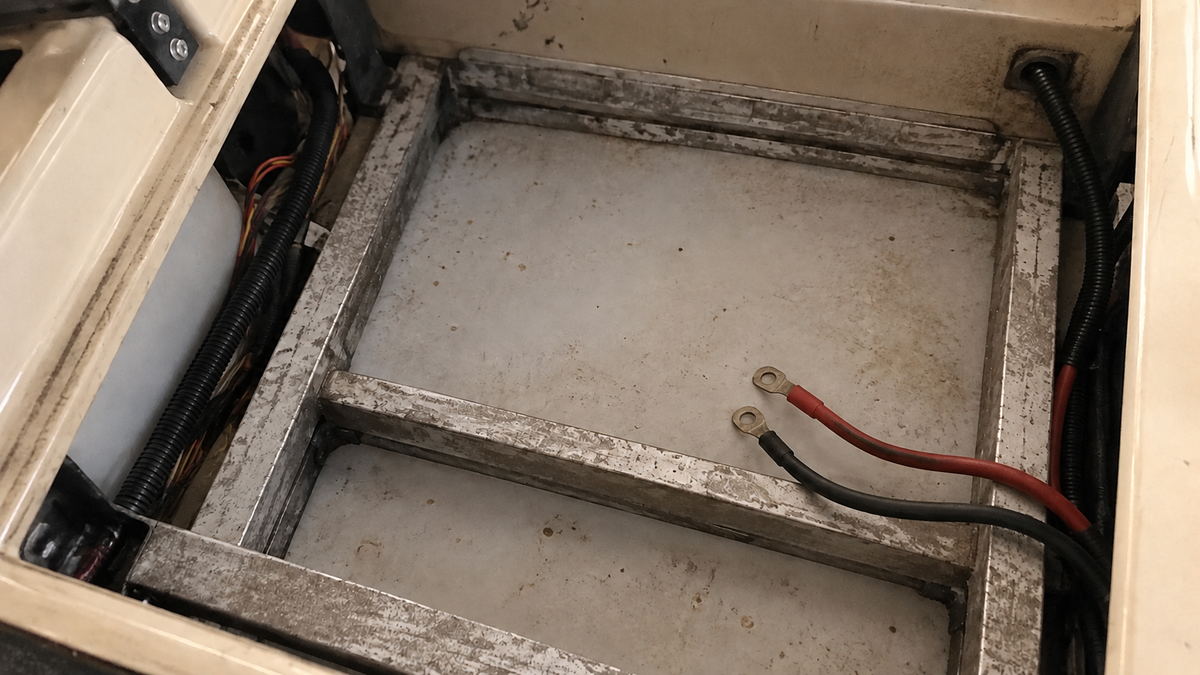
The main battery cables should follow the same path they will use after installation. Measure from the terminal on the battery to the matching terminal on the controller or cart wiring, following bends around the tray and under any panels. Include the length needed for the terminal ends and a small service loop so a connection can be inspected without pulling on the cable.
Do the same for the charging lead, monitor cable, and any connector harness. A cable that reaches only when pulled tight is too short. One that must be folded against a sharp tray edge is also unsuitable. Keep the route clear of moving parts, hot surfaces, and edges that could damage insulation.
For a simple replacement in the original battery position, the old cable route is a useful starting reference. For a single lithium pack placed elsewhere in the compartment, measure the new route from scratch. The battery's position can change the required length even when the cart's voltage stays the same.
Choose the harness length from the battery to the intended mounting point
A wiring harness is long enough when it reaches from the battery or connection point to the place where the control, display, or connector will be mounted. Measure to that intended point, not merely to the nearest edge of the battery compartment. Leave enough slack to remove a seat or panel and inspect the connection, but do not leave a long coil where it can rub, snag, or be pinched.
For example, if a monitor will sit on the dashboard, measure the route from the battery through the planned opening and up to the dashboard location. If the monitor stays inside the battery compartment, the route is shorter. Those are different installations, so they need different harness lengths even on the same cart.
A useful check is to lay a piece of string along the proposed route, mark both endpoints, and measure the string. Repeat the measurement with the seat, panels, and battery hold-downs in their installed positions. Select the closest available harness that is at least as long as the measured route and still supports a protected, tidy installation.
Match the kit's cables and connectors to the conversion layout
Length is only one part of the choice. The cable must reach the connection point, while its terminals and connectors must match the battery, charger, controller, and harness supplied for the conversion. Do not replace a connector with a different style just because its wire is longer, and do not assume that a cable from another cart will fit your battery terminals.
For a complete conversion setup, the Vipboss 36V 105Ah Lithium Golf Cart Battery Conversion Kit brings together the battery, charger, cables, connector components, and monitor needed to support the installation and keep an eye on battery status afterward. Start by mapping the cable route in your cart, then use the supplied components as a matched system for a clean, straightforward conversion.
If you are relocating the battery or mounting the monitor elsewhere, take the same route measurement and leave enough slack for secure, serviceable routing. This helps you position the kit's cables and harness neatly while keeping every connection accessible.
Check the fit before connecting the battery
Before energizing the cart, place the battery securely, lay each cable and harness along its final route, and confirm that every end reaches its intended connection without tension. Check that the cables cannot touch a sharp edge, moving linkage, or hot component, and that the battery cannot shift and pull on a terminal.
If a cable is too short, do not stretch it or add an unapproved extension. If it is much longer than needed, do not bundle it tightly beside the battery or leave it where the seat can crush it. Re-measure the route and use the conversion kit's specified replacement or harness instead.
The right answer is therefore a measured length, not a standard number: measure the real route, add only enough slack for service and safe routing, and verify the kit's connector arrangement before installation.