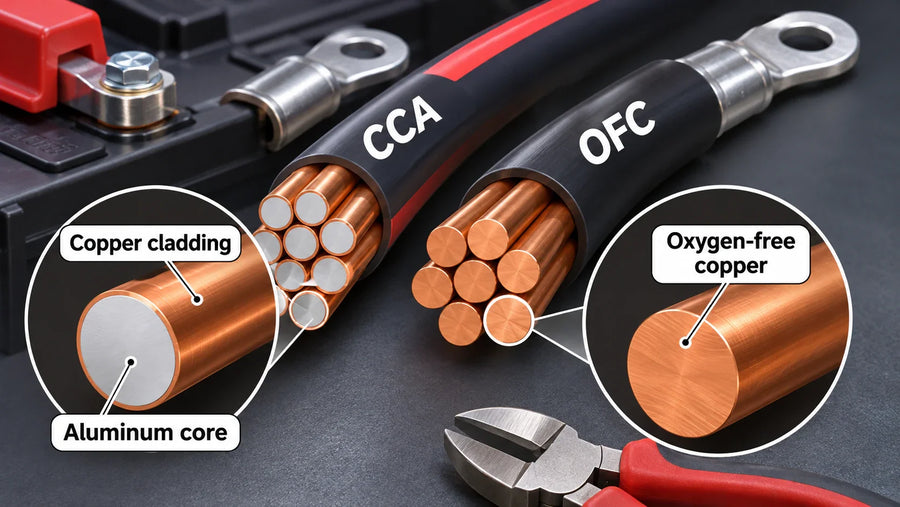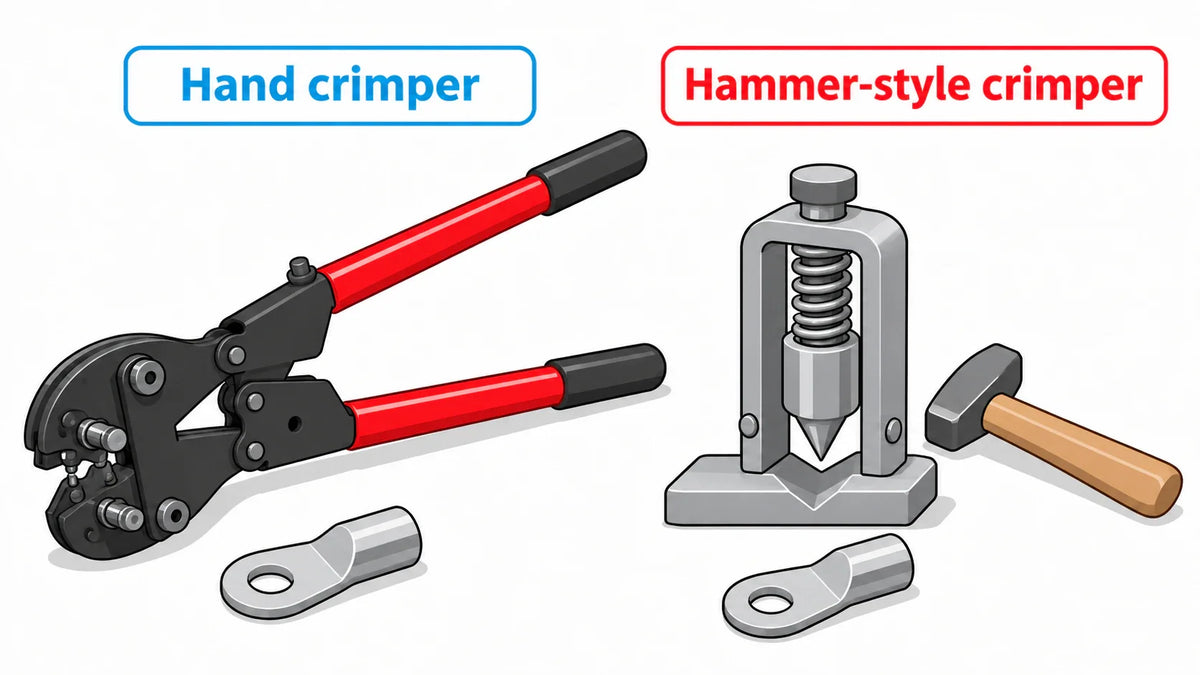

Choose a crimping tool by matching the actual cable conductor and lug to a documented tool-and-die combination for that connector. Once you have compatible candidates, compare their documented die requirements and operating setups with your connector and the space where you will work.
Match the cable, lug, and die
Start with the cable’s conductor size and material or class, then identify the lug’s type and barrel. Find the connector maker’s tooling information for that lug family and compare its listed tool, die or index, and crimp count with the tool you are considering. The connector-specific tooling sheet maps listed connector sizes and indexes to tools and dies, and specifies conductor criteria and crimp counts for the covered connector families.

Treat a combination as documented only when the applicable information matches the cable and lug you have. A matching AWG range on a tool label does not by itself establish the right die, connector style, conductor class, or number of crimps. A die that physically fits the tool also does not establish that the connector maker specifies that pairing. If the applicable tooling information does not identify the combination, regard compatibility as unestablished rather than substituting a similar-looking lug or die.
Compare documented tool setups
Manual hand crimper: Check the tool’s chart for a die setting that covers both your cable gauge and connector style. One hand-crimper die chart lists settings by both details, so a gauge match alone is not enough to choose the setting. If that chart covers your pairing and the hand-operated setup suits the access available at the work location, the tool is a viable option. Apply the chart only to the tool and connector types it covers; another hand crimper needs its own applicable specifications.
Hammer-style crimper: Check the candidate model’s stated connector range and whether its hammer-or-vise setup can be used at the work location. One documented hammer-style crimper is listed for 8–4/0 AWG connectors and is used with a hammer or vise; that range is specific to that model, not the mechanism as a class. If its documentation covers your cable-and-lug pairing and the setup fits the available access, it is a viable option.
These checks narrow the choice only among tools with a documented match for your cable and lug. Where both a hand tool and a hammer-style tool are documented matches, compare the hand tool’s required die setting and operating access with whether the hammer-or-vise setup is workable where the crimp will be made. Choose a setup that meets both conditions; do not treat the model-specific range or mechanism label as a general performance ranking. A hydraulic label alone supplies no comparable selection distinction here, so use its own documented tool-and-die match rather than assuming its mechanism establishes compatibility.
FAQs
How should work access affect the choice between a hand crimper and a hammer-style crimper?
Among tools documented for your cable and lug, choose a hand crimper if its chart covers the pairing and its operation suits the available access; consider a hammer-style crimper if its model-specific documentation covers the pairing and a hammer-or-vise setup is workable at the crimp location.
Is a matching AWG label enough to choose a crimper die?
No. Check the connector maker’s documented cable, lug, tool, die or index, and crimp-count combination; the gauge label alone does not establish it.
Does a hydraulic or hammer-style mechanism prove a better lug crimp?
No. First establish a documented match for the exact cable and lug. Then compare the candidate tool’s specified setup with the access available where the crimp will be made.