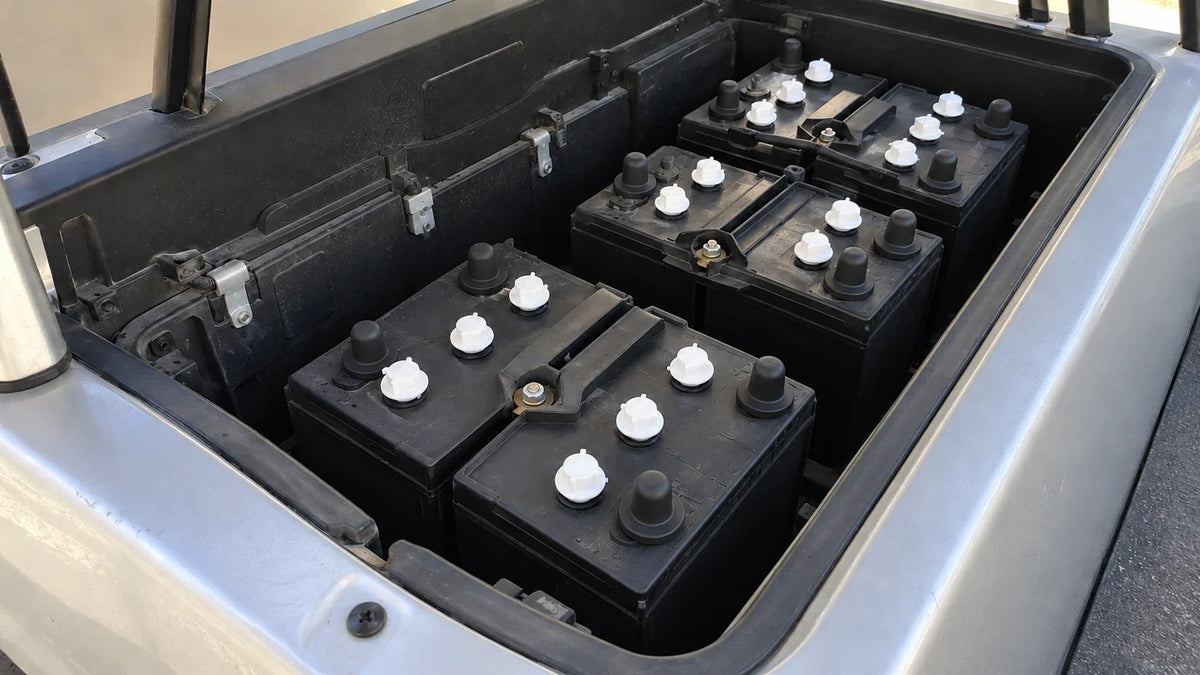

Match a golf cart battery wiring diagram to the cart's system voltage, the voltage of each battery, and the way the batteries connect. Battery count alone is not enough: six 6V batteries in series make a 36V nominal pack, while six 8V batteries in series make 48V. After identifying the correct configuration, trace the jumpers and main output terminals before comparing the drawing with the physical tray.
Identify what each battery symbol represents
Read the cart's stated system voltage, then count the actual battery units and read their voltage labels. A drawing may show individual battery units, internal cells, or one complete battery pack. Establish which level it depicts before doing any arithmetic.
For a simple series string, add the nominal voltage of each complete battery unit in that string. The positive terminal of one connects to the next unit's negative terminal. For matching batteries connected in parallel, like terminals connect together and the bank retains their nominal voltage. These are circuit relationships; they are not restricted to exposed individual cells.
The battery connection principles provide the basis for reading the topology. They do not, by themselves, establish whether a particular lithium battery is approved for series or parallel expansion; that is a separate equipment requirement.
Compare common series-pack configurations
| Battery arrangement | Nominal pack voltage | Inter-battery jumpers in one series string |
|---|---|---|
| Six 6V batteries | 36V | Five |
| Six 8V batteries | 48V | Five |
| Four 12V batteries | 48V | Three |
| Eight 6V batteries | 48V | Seven |

These examples show why two 48V diagrams can both have correct voltage arithmetic and still describe different physical packs. Choose the arrangement that matches the batteries actually installed. If the pack has multiple parallel strings, identify each string separately rather than adding the voltage labels of every battery in the tray.
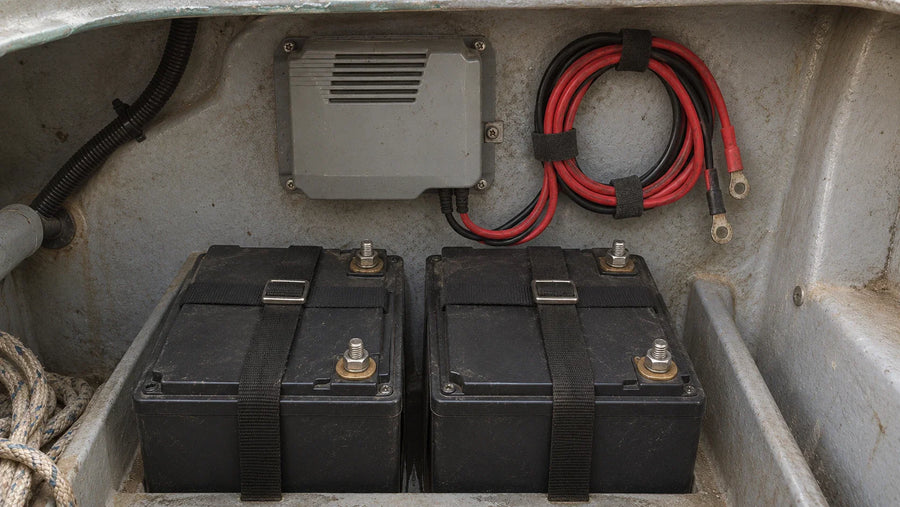
A single lithium conversion pack is another configuration. For example, the Vipboss 48V 150Ah conversion kit uses a 51.2V LiFePO4 battery. On a vehicle-level drawing, identify that complete pack and its external terminals; do not treat its internal cells as separate batteries to jumper across the tray. The 48V system-class name and the 51.2V battery specification describe different aspects of this example.
Trace connections before copying the tray layout
Start at a labeled pack endpoint and follow the line to the first battery terminal. Read its polarity, pass through that battery to its other terminal, and follow the next jumper. Continue until the series path reaches the other pack endpoint.
Check the drawing against the actual connections in this order:
- Battery labels: do the voltage ratings and number of units match?
- Inter-battery links: does each series jumper connect positive to the next negative?
- Pack endpoints: which terminals provide main negative and main positive?
- Vehicle connections: where do the main supply, charging, and accessory cables go?

Batteries can be rotated or placed in two rows without changing the intended series circuit. A diagram is often arranged for readability, so a line's direction on the page is less important than the terminal labels it connects. Do not rotate your interpretation of polarity just to make the drawing resemble the tray.
Recognize when the diagram is the wrong one
A different battery count, different unit voltages, or a different series/parallel pattern means the diagram needs further checking before use. An extra lead may belong to charging, monitoring, or an accessory circuit; do not remove it simply because a simplified battery diagram omits it.
Confirm the vehicle model and any battery conversion before relying on an old diagram. A cart that has been converted to a single lithium pack can retain a nominal system-class name while having a substantially different battery layout.
Reading the diagram is a visual task. If inspection requires moving or removing conductors, use the cart's isolation procedure first; battery-work guidance calls for disconnecting batteries and other sources before electrical work. The drawing does not supply terminal torque, cable size, or a safe disconnect sequence for every model.
FAQs
Can I add the voltage labels on whole batteries?
Yes, when those batteries form a series string: add the nominal voltage of each unit in that string. Do not sum every label in a parallel or mixed series/parallel bank without first identifying its connection pattern.
Why can a six-battery diagram be either 36V or 48V?
The battery voltage matters as well as the count. Six 6V batteries in series make 36V nominal; six 8V batteries in series make 48V nominal.
Does a different tray arrangement make a diagram unusable?
Not necessarily. Compare the voltage ratings and terminal-to-terminal connections; a different physical arrangement can still implement the same circuit. Use the actual vehicle documentation for routing and additional connections.