
After wiring, set a digital multimeter to DC volts and measure across the pack’s main positive and negative terminals. The displayed voltage is the total pack voltage; the sign indicates whether the probes match the terminal polarity. Compare the reading with the battery maker’s stated voltage or charging documentation.
Check voltage and polarity
-
Set the meter. Put the black lead in
COMand the red lead in the voltage jack. Select DC volts, using a range above the battery’s expected voltage if the meter is not autoranging. Do not use current mode. -
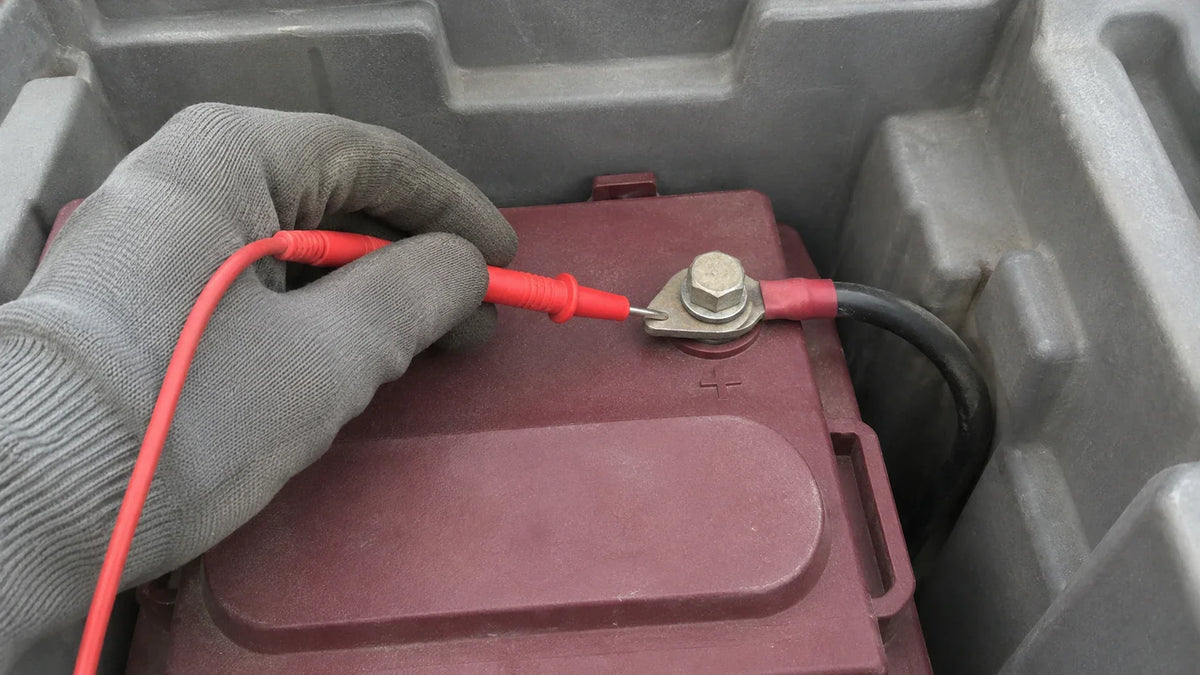
Position the probes. Keep the metal tips from bridging terminals or touching another conductor; that can short the circuit and cause sparks, as OSHA’s multimeter guidance explains. Connect the meter across the pack, in parallel with the terminals being measured, as described in the Department of Energy’s voltmeter guidance.
-
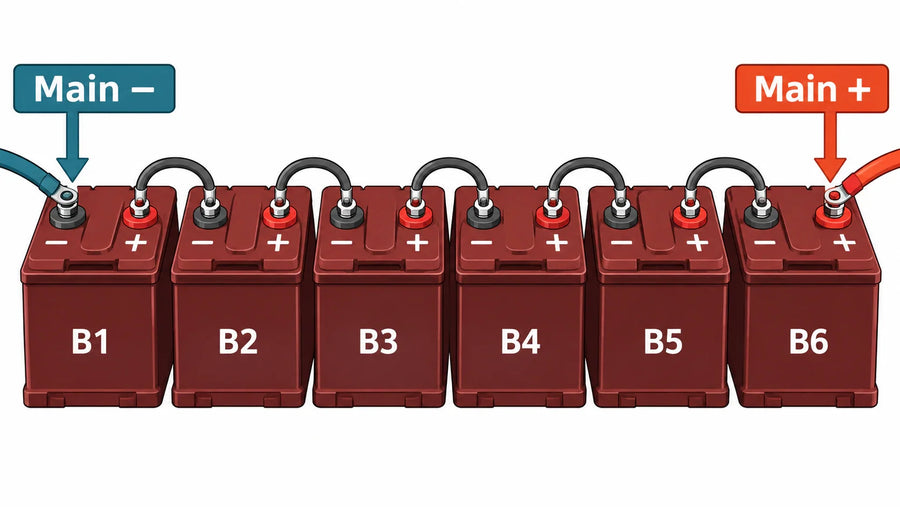
Read the total voltage. Touch the red probe to the pack’s main positive terminal and the black probe to its main negative terminal. The meter displays the voltage across the full pack, not an individual battery’s voltage.

-
Confirm polarity. A positive reading means the red probe is at the higher electrical potential. A minus sign means the probe placement is reversed relative to that polarity; swap the probes and check that the sign becomes positive. This describes probe orientation, not by itself a wiring fault diagnosis.
-
Compare with battery documentation. Use the battery maker’s stated voltage and charging guidance to interpret the measurement. For context, the Vipboss 48V 150Ah lithium golf cart kit specifies a 51.2V LiFePO4 battery rated at 150Ah and 7.68kWh.
FAQs
What does a minus sign on the golf cart battery pack voltage reading mean?
It means the red probe is at a lower electrical potential than the black probe; swap the probes to get a positive reading. The sign describes probe orientation and does not by itself diagnose a wiring fault.