
On a golf cart battery pack wired in series, follow the positive-to-negative jumpers from battery to battery. The two terminals at the ends of that chain are the pack's main negative and main positive. Identify their polarity from the battery markings, not from tray position or cable color.
Trace the series connections
Switch off the cart and disconnect charging equipment according to the cart's instructions before inspecting the wiring. Key off does not make the battery terminals electrically dead. This identification starts with visual tracing; do not loosen or move connections without following the specified isolation procedure.
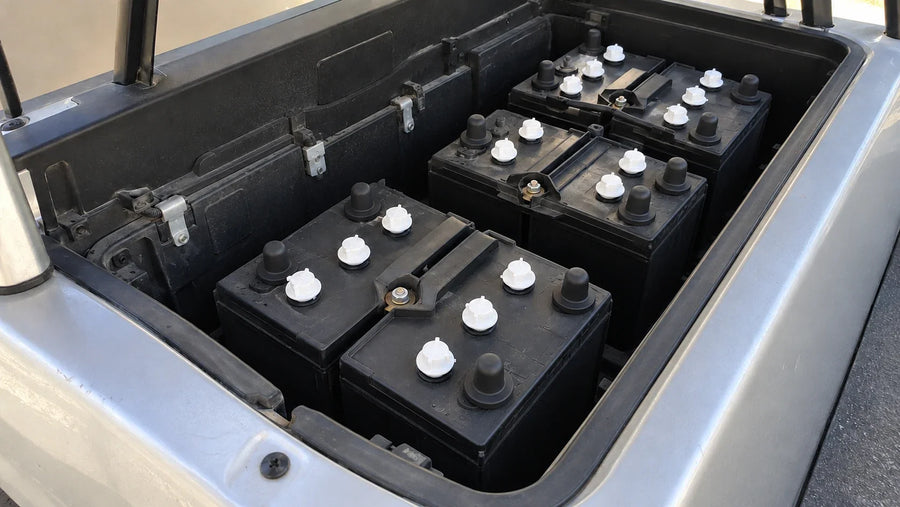
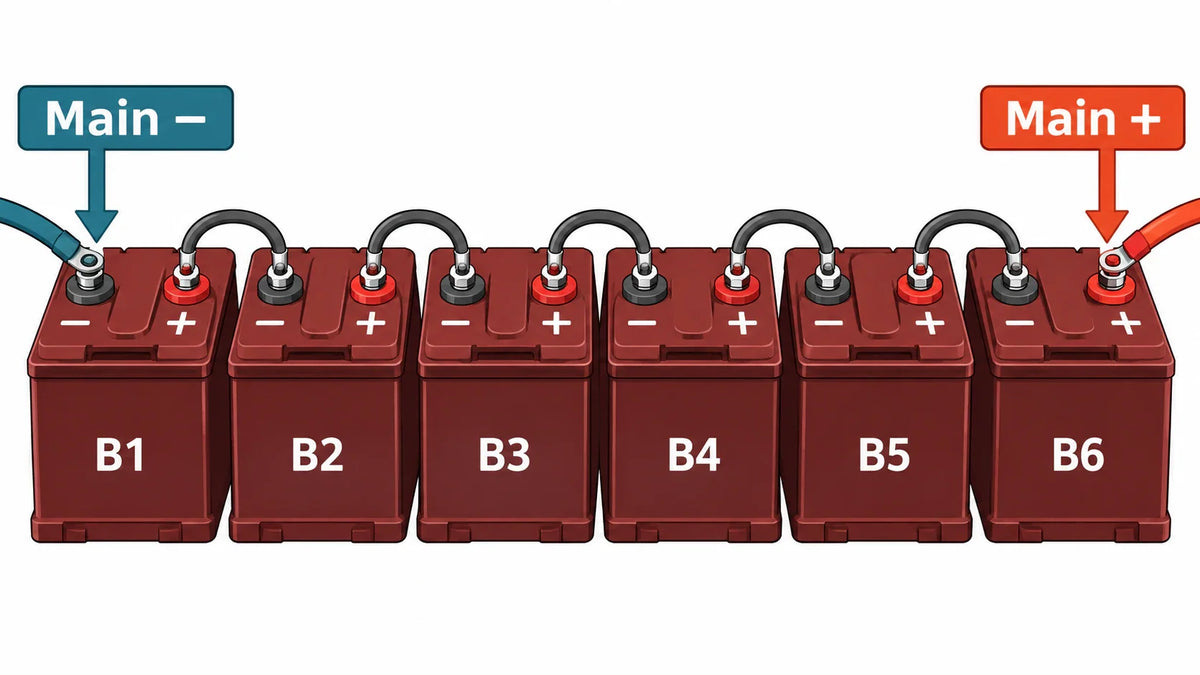
In a series connection, each battery's positive terminal connects to the next battery's negative terminal. Follow only those inter-battery jumpers until you reach the two ends of the string. One end has a negative terminal outside the jumper chain; the other has a positive terminal outside it.
These endpoints may already have the cart's main leads, charging connections, or other approved wiring attached. “End of the chain” does not mean a bare or unused terminal. It means the terminal is not used for another positive-to-negative jumper continuing the series string.

For example, label six batteries B1 through B6 along their electrical sequence. If the first jumper connects B1 positive to B2 negative and the pattern continues through B6, the pack outputs are B1 negative and B6 positive. The same tracing method works whether those six batteries are rated 6V or 8V; the total pack voltage is different.
Confirm the endpoints before using them
Read the + or − marking at each end battery. Then trace the main leads against the cart's wiring diagram. Main leads may pass through protection or switching equipment, so their destination cannot always be established by looking at the nearest cable alone.
Do not assume a terminal is positive because it is on the right, faces forward, or has a red cable. Likewise, do not assume the chassis is the battery return. The battery markings, connection pattern, and model-specific diagram must agree.
This method describes a series string of separate batteries. A single enclosed lithium pack has designated pack connections; identify those from the pack labels and installation instructions instead of looking for external inter-battery jumpers.
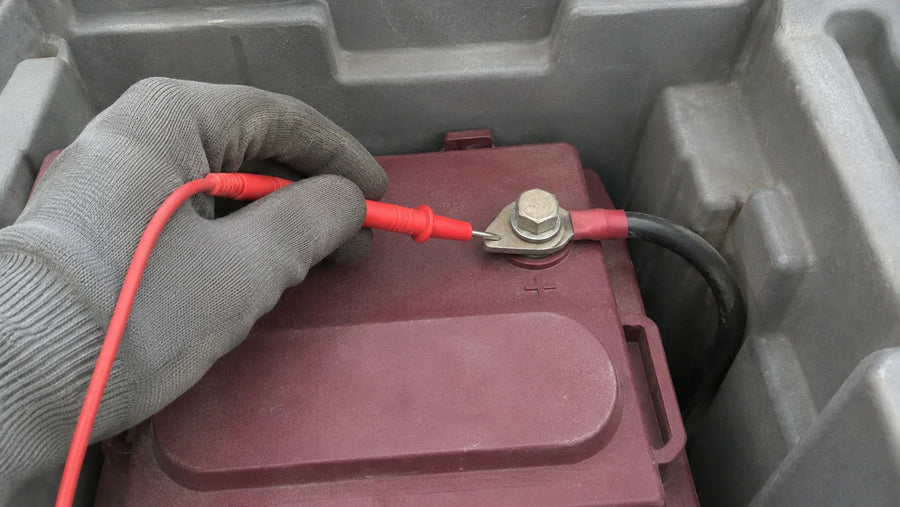
If the string contains unexpected branches, unclear labels, or connections that do not match the cart's diagram, stop before attaching a charger, accessory, or vehicle lead. Have a qualified technician identify the circuit. Keep tools and probes from bridging live terminals during any checks.
FAQs
Are the main terminals the two terminals with no wires attached?
No. They are the endpoints of the inter-battery series chain and may already carry several approved connections. Find them by tracing the jumpers, not by counting unused posts.
Can cable color identify the pack's positive and negative?
Color can be a useful clue, but it is not confirmation. Read the battery polarity markings and verify the lead's role against the connection pattern and cart wiring diagram.
Does turning off the key make the pack terminals safe to touch with tools?
No. Batteries remain energy sources with the key off. Follow the equipment's isolation procedure before changing wiring, and prevent tools or cable ends from bridging terminals.