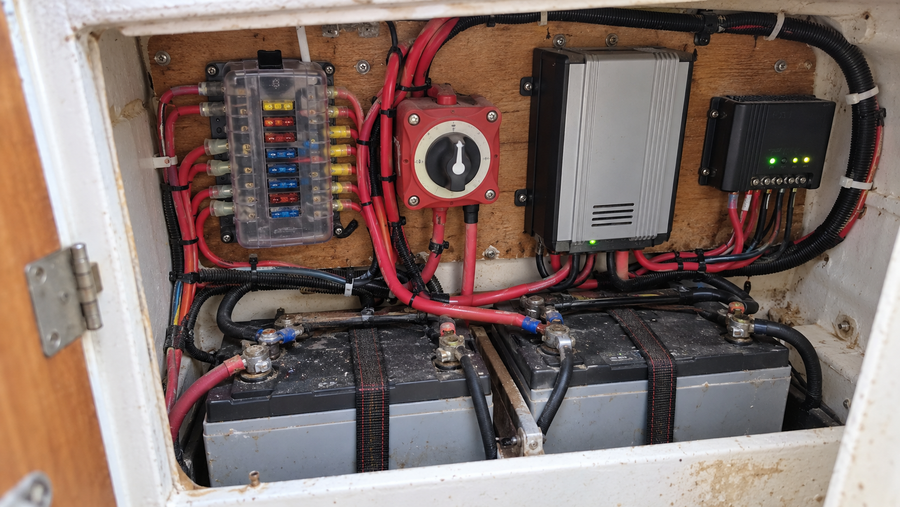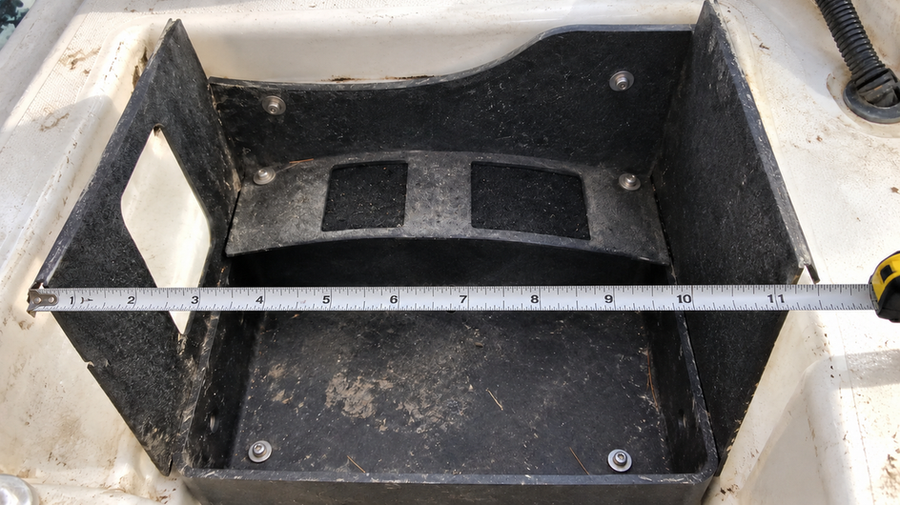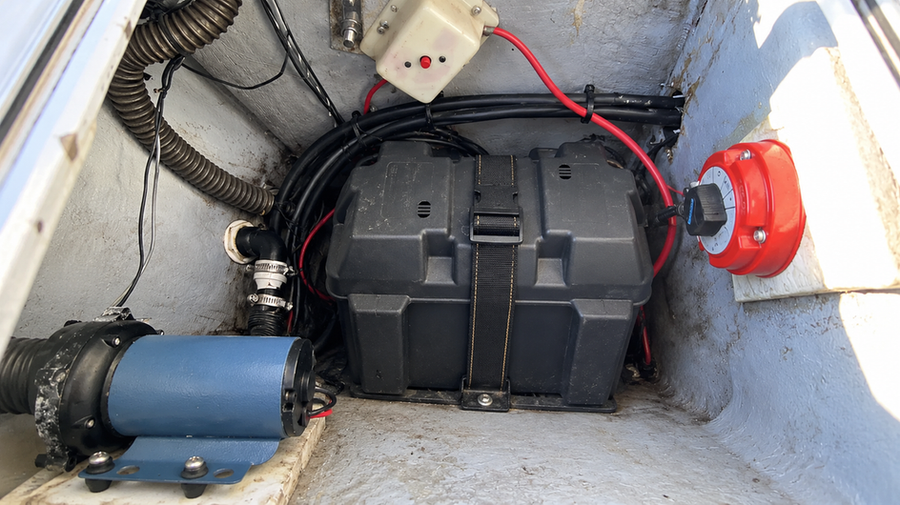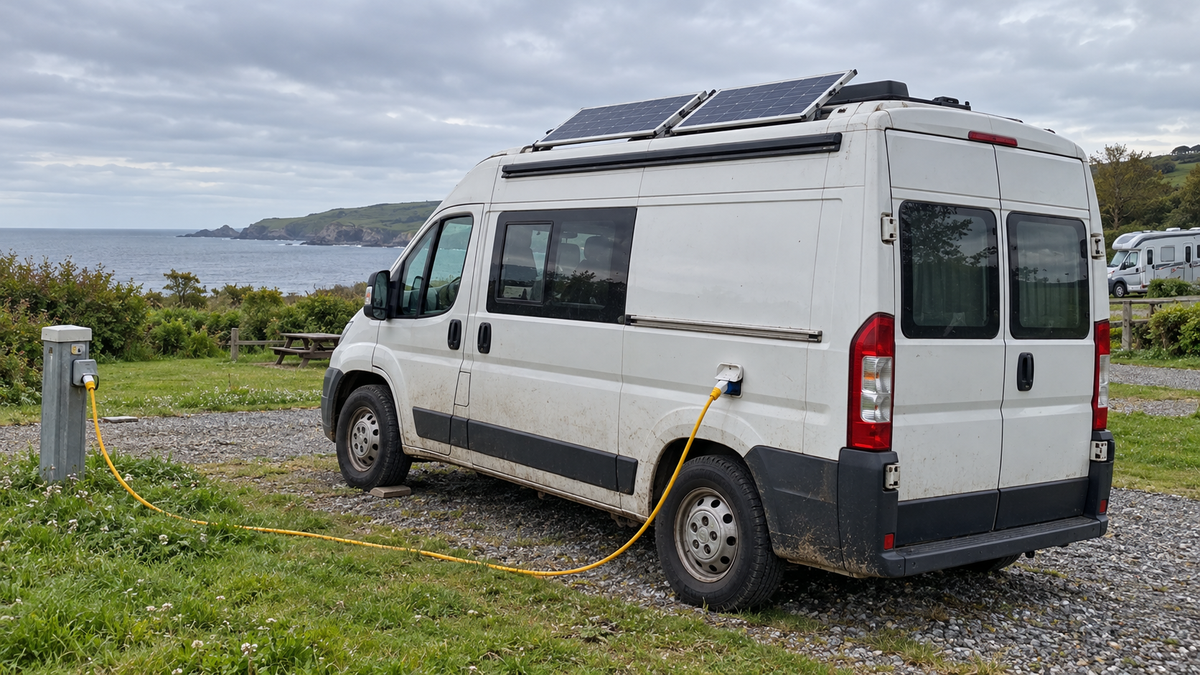

Plan the system by tracing each charging source to the house battery and checking its equipment against the battery’s own limits. Start with the battery model and the RV’s converter or charger, alternator-charging equipment, and solar controller; if any source cannot be confirmed as compatible with that battery, resolve that gap before relying on it to charge.
Start with the battery and the RV’s existing equipment
Write down the exact battery model and system voltage, then identify the equipment already connected to the house battery. Look for the converter or inverter-charger used on shore power, the equipment that carries charge from the vehicle alternator, and the solar charge controller. Record model numbers so you can find the manuals for the actual devices rather than relying on a generic RV wiring diagram.
For each device, check its manual for support for the battery’s chemistry, the required charging settings, and any current or temperature limits. Then compare those instructions with the battery manual. If the manuals do not establish that a device and battery can work together, do not assume that a setting labeled “lithium” is enough; get the equipment maker’s guidance or choose a confirmed-compatible solution.
The vehicle’s alternator is not the same thing as the battery’s shore charger. Identify the equipment and controls between the alternator and house battery, and verify their instructions for the battery you plan to use. Do the same for the solar controller. Each source needs its own check; one compatible charger does not establish that the other two are compatible.
Check shore, driving, and solar charging separately

Shore power: Find the converter or inverter-charger model and confirm its lithium charging mode or settings against the battery’s requirements. If its charging behavior cannot be adjusted or confirmed, do not treat it as compatible based on the RV’s age or its previous use with another battery.
Driving: Identify how the alternator charges the house battery and check the relevant equipment instructions for the battery chemistry and limits. Alternator-charging layouts vary by RV, so base the plan on the manuals for your own vehicle, battery, and charging equipment rather than settings copied from a different system.
Solar: Record the solar controller model, then check its manual for battery compatibility and the required charging settings. Include the controller—not just the panels—in the check. If the controller’s settings or operating limits cannot be matched to the battery’s instructions, the solar connection is not yet a confirmed part of the plan.
For all three sources, keep the battery manual and the corresponding equipment manual together. If they disagree or leave a limit unclear, pause that source’s use until the equipment makers clarify the requirement. Do not substitute a setting or value taken from a different battery or RV.
Match the battery to your use and its stated limits
Estimate the energy your house loads need between charging opportunities, then compare that need with the battery capacity you are considering. Also check whether the battery’s stated discharge limit matches the loads you plan to run. A capacity figure alone does not establish that a battery can supply a particular appliance or inverter.
The Vipboss 12V 105Ah Bluetooth LiFePO4 battery gives a 12V RV house system 1,344Wh of stored energy, a built-in 100A smart BMS, and Bluetooth monitoring in a compact Group 31 case. The app makes it easier to follow battery status across shore, driving, and solar charging. Built-in low-temperature protection pauses charging below 32°F (0°C) and resumes it at 41°F (5°C), which adds automatic protection for cold-weather travel and storage.
Do not infer that a stated battery capacity, BMS rating, or expansion configuration makes a particular charger, inverter, or wiring arrangement compatible. Confirm those pairings against the applicable manuals before finalizing the system.
Finish with a source-by-source plan
Your plan is ready when you can name the battery and the equipment for shore, alternator, and solar charging, and can match each device’s documented settings and limits to the battery’s instructions. Mark any unknown model, unclear setting, or unresolved mismatch as an open item—not as a confirmed charging source.
If you are replacing an existing battery, record the current wiring and identify each charging component before making changes. Follow the instructions for your own battery and equipment, especially before connecting or disconnecting charging sources, because operating settings and shutdown steps are specific to the installed system.
FAQs
How do I check whether an existing RV charger is compatible with a lithium house battery?
Record the exact battery and charger models, then compare the battery chemistry, required charging settings, and current and temperature limits in both manuals. If compatibility or a required setting is unclear, do not assume that a lithium-labeled mode is sufficient; obtain guidance from the equipment maker or use a confirmed-compatible solution.
Do shore power, alternator, and solar charging need separate compatibility checks?
Yes, check the shore converter or inverter-charger, alternator-charging equipment, and solar controller separately against the battery’s instructions. Compatibility between one charging source and the battery does not establish compatibility for the other sources.
What information should I collect before choosing an RV lithium charging setup?
Write down the battery model and system voltage, the models of the shore charger, alternator-charging equipment, and solar controller, and the energy and discharge needs of your house loads. Use those details to compare each device’s documented settings and limits with the battery’s requirements, and treat any unknown model or unresolved mismatch as an open planning item.