


This guide explains how to keep dew heaters running until dawn in freezing fields by combining smart shielding, efficient heater use, and realistic off‑grid power planning.
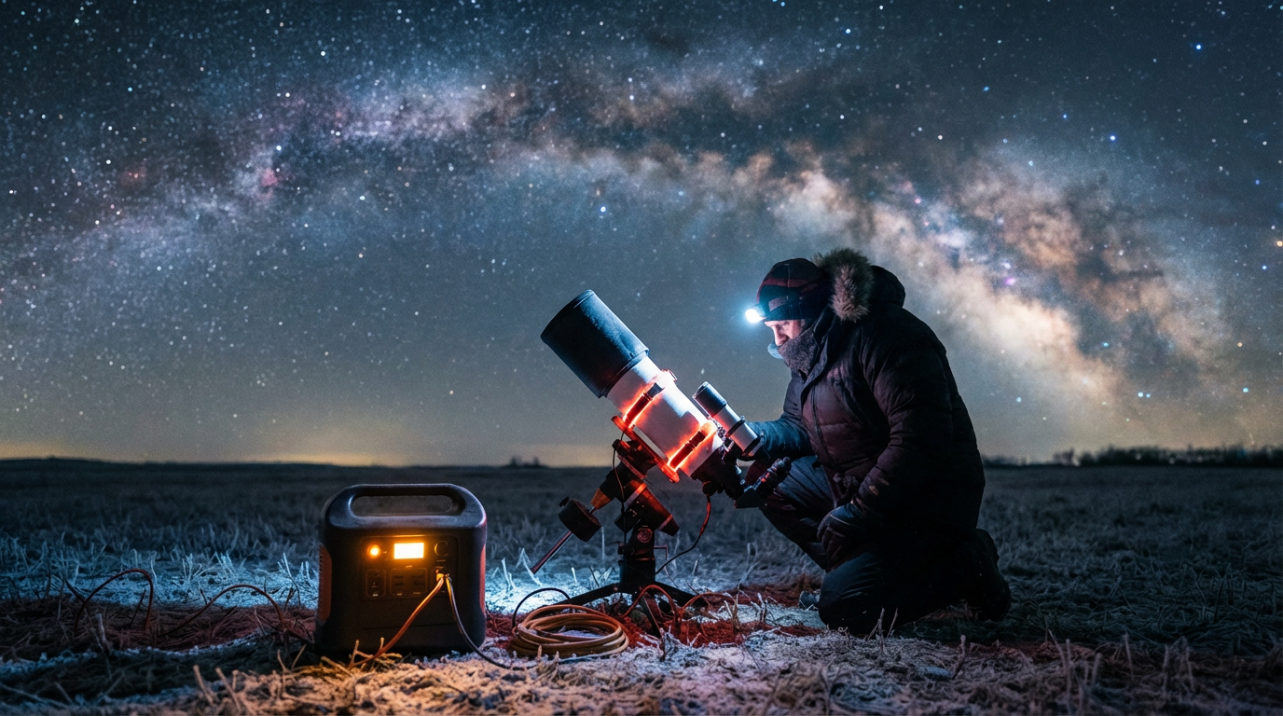
The scene is familiar: stars are perfect, the Milky Way is blazing, and then sometime after midnight your lens goes milk‑white, your guider loses the star, and your power tank is already gasping. Nights like this do not have to end early; once heat, shielding, and power are working together, dew stops being the silent session killer and becomes just another controlled variable. This guide walks through how dew forms, what your heaters really demand from a battery, and how to design a lean, field‑ready power setup that keeps glass dry until the first birds start singing.
Why Dew Heaters Feel Like Power Hogs in the Cold
Dew forms when your optics radiate heat to the cold sky, cool below the local dew point, and pull moisture out of the air onto glass and metal surfaces. That is why the clearest, calmest nights are often the most dew‑prone for equipment rather than the driest dew behavior. Front‑mounted glass such as refractor objectives and Schmidt‑Cassegrain corrector plates is particularly vulnerable because it stares straight into that cold dome and sheds heat faster than the surrounding air front‑glass risk.
A dew shield is simply a tube that blocks part of the sky from your objective or corrector, reducing the slice of cold sky the glass can see and slowing radiative cooling so the surface stays above the dew point longer. As a bonus, that extra length also blocks stray light from car headlights and porch lamps, which improves contrast in your subs and keeps faint nebulosity from being washed in glare.
The catch is that a shield alone eventually loses the battle on long, freezing nights. Once the protected pocket of air inside the shield cools to the dew point, the objective still dews, just a bit later in the night. This is where electric dew heaters come in. They are designed to raise the glass only slightly above the dew point—barely warmer than the surrounding air—so dew never condenses even when humidity is high.
Many rigs waste power because heaters are run as tiny space heaters instead of as precision tools. Straps are cranked to maximum, wrapped directly around the lens cell, and left fighting the entire sky with no proper shield. That forces them to pump far more heat than necessary and can even create convection currents in front of the optic that soften star images. By contrast, heating the dew shield itself and letting that gentle warmth radiate back into the glass can give the same dew protection with far less wattage and less optical turbulence, especially when the shield is roughly one and a half times the aperture length so it is doing real work rather than just looking like trim.

What Dew Heaters Really Demand From Your Battery
To get control of the power problem, the first step is to translate “a few heaters and a controller” into watts and hours. Commercial heater straps and bands for small camera lenses and finders often run at a few watts each, while heavier‑duty bands for larger scopes can draw well over 10 watts at full power, depending on length and design lens heater output. Some wrap‑around heaters for telescopes, such as versatile neoprene bands powered from 12‑volt power tanks, draw around 1.6 to 1.8 amps at 12 volts on high, which is roughly 19 to 22 watts of continuous heat when you actually need maximum output in harsh frost.
Heater systems built for telescopes expect a 12‑volt DC supply with enough amp‑hour capacity to run all connected straps—main objective, guide scope, eyepieces, and finder—through the whole observing or imaging window. The basic arithmetic is straightforward: multiply each heater’s wattage by the number of hours you plan to run it, sum those watt‑hours across all heaters, and then match that to your battery’s usable watt‑hours. Whether your 12‑volt source is a sealed box from a telescope vendor, a repurposed field battery, or a lithium pack, the math is the same.
Consider a simple freezing‑field example. Imagine a main dew strap using about 8 watts when it is working hard, a smaller heater on a guidescope around 4 watts, and another 4‑watt band on the camera lens barrel. That is roughly 16 watts of heater load. On a 10‑hour winter night, those heaters alone want about 160 watt‑hours. On a 12‑volt system, that translates to a bit over 13 amp‑hours just for dew control, before adding the mount, camera, mini‑PC, and anything else sharing the same battery. If your heater bands are higher‑draw models closer to that 20‑watt figure at full tilt for a large telescope, the numbers climb even faster.
The good news is that in real life you do not need full power all night. Many lens heaters include three‑step heat settings so you can throttle down when conditions allow and only push to high when temperatures dive toward the forecast dew point. Dew controllers and smart power hubs for Schmidt‑Cassegrains go further by reading ambient conditions and modulating heater output in real time, which both conserves battery power and avoids overheating the glass. When those controls are paired with good shielding and careful placement, average heater power over the night can end up much lower than the fear‑driven “full power all the time” setting many astrophotographers live with.
Build a Dew System That Goes the Distance
Long, cold sessions are won or lost at the design stage. Instead of treating heaters as a last‑minute bandage, it helps to think in layers: block the sky, add just enough heat in the right place, then give that heat a power source sized to the job.
A well‑sized dew shield is the first layer and costs no power. Flexible shields are lightweight, roll up easily for travel, and use hook‑and‑loop closures so one shield can fit several diameters, which is handy for portable astrophotography rigs. Rigid aluminum shields, on the other hand, hold their shape well, handle bumps better, and provide the most consistent performance when long‑exposure sharpness is a priority. DIY Reflectix shields wrapped around the corrector or lens cell not only block sky but also insulate the heater strap so more of the heat you pay for stays on the telescope instead of leaking straight into the air Reflectix insulation.
The second layer is heater placement and control. Placing the heater just behind the optical cell or around the base of the dew shield allows gentle heat to flow forward and inward, keeping the entire optical surface just above the dew point with less power and fewer heat plumes in front of the aperture. Shields that extend at least roughly one aperture diameter beyond the glass give that warm zone a chance to stabilize and make every watt count.

Smart controllers that distribute power between a heater ring on the corrector, strap heaters on accessories, and perhaps a camera‑window heater do the micro‑management for you, dialing heater outputs up and down instead of leaving everything blasting at maximum all night.
The third layer is complementary low‑power tricks. Chemical hand or toe warmers taped around small lenses or finders are a completely battery‑free heat source and can provide surprisingly effective localized warmth for stretches of a session, especially when wrapped under a simple insulating sleeve chemical warmer method. They come with trade‑offs: performance falls in deep cold, they are single‑use waste, and they make manual focusing fiddly if they sit directly on the focusing ring. Small fans are another powerful tool; a smooth‑running computer fan blowing gently across the front element can keep dew at bay with modest power draw, and when mounted to the camera body or tripod rather than the lens, vibration in long exposures is negligible. For some wide‑field lenses, fan placement takes care to stay out of frame, but longer focal lengths make this easier.
Finally, there is the often‑ignored transition layer. Moving gear from a warm car into freezing, humid air or back again can trigger its own round of fogging as warm, moist air meets cold glass. Letting the camera and lenses acclimate in the field before you start long runs, or keeping them closer to outdoor temperature rather than constantly cycling between hot and cold, reduces internal condensation and lets your heater system focus on the slow, sky‑driven dew rather than sudden fog banks.
Example: Power Planning for a Freezing All‑Nighter
Pulling these ideas together, imagine a typical winter field setup: a Schmidt‑Cassegrain with a Reflectix dew shield and heater ring on the corrector, a guidescope with a small heater band, a lens heater on a wide‑field camera, and a small 12‑volt fan aimed at the main corrector. The heater ring might be capable of 20 watts on its highest setting, the two smaller bands perhaps 4 watts each, and the fan a few watts. Left on full power blindly, the heater hardware alone could demand more than 30 watts continuously, which over 10 hours is more than 300 watt‑hours before you even think about mount slews or a cooled camera.
Shield and heater working together can make that continuous maximum unnecessary. A well‑designed dew shield limits how much cold sky the corrector “sees,” so the heater ring only needs to lift the glass a few degrees above ambient rather than fight the entire celestial hemisphere. Smart controllers or multi‑step heaters let you run the ring at low or medium most of the night, only spiking power when humidity and temperature close in on the dew point. In mild stretches you may decide that the guidescope and lens heater can sit at their lowest settings or even be cycled, further cutting average consumption.
If you use a cooled astronomical camera, there is yet another piece of the thermal puzzle. These sensors are commonly run many degrees below ambient to suppress thermal noise, with some systems in controlled tests operating roughly 30 to 45 degrees cooler than the surrounding air sensor cooling. That temperature drop makes the camera’s protective window and any filters especially vulnerable to dew or frost, which is why heater rings or small window heaters are standard companions for serious deep‑sky rigs. Planning power for those heaters together with the main optics ensures that when your sensor is cold and quiet, the glass in front of it is still clear.
A simple way to sanity‑check your design is to sketch a table like this in your notebook while planning an off‑grid trip:
Strategy |
Power use vs dew performance |
Shield alone |
Zero power; delays dew but often fails before dawn on hard nights |
Shield + low‑level heater |
Moderate power; strong protection with minimal turbulence |
Heater on glass edge at high power |
High power; effective but can soften images with heat plumes |
Chemical warmers on small optics |
No battery; good backup, variable duration |
Small fan plus hood |
Low power; very effective when positioned correctly |
Seen this way, the best power upgrade is rarely “buy a bigger battery and blast the heaters.” It is almost always “make every watt smarter by letting plastic and aluminum block the sky first, then let heaters and controllers trim the last few degrees.”
FAQ
How early should dew heaters be turned on in freezing conditions?
Heaters work best as prevention, not rescue. Once a front element is soaked, they need extra power and time to clear it. Starting heaters and using shields before dew forms, especially as temperature forecasts close in on the night’s dew point, keeps the glass just above trouble and lets you run lower settings for most of the session.
Are hand warmers enough for dew control on their own?
For short sessions, milder humidity, or small lenses and finders, hand or toe warmers taped around the barrel under an insulating wrap can carry an optic through its duty cycle without any battery draw. For long, freezing nights or large glass surfaces, they are best treated as a backup layer or a way to offload small accessories while electric heaters and shields protect the main optics.
Will low‑power heaters hurt image sharpness?
Gentle heaters that keep optics close to ambient temperature, especially when combined with effective shields, often improve star quality because they prevent patchy cooling and dew without creating strong convection currents. Sharpness problems usually appear when heaters are overdriven on bare glass, cranking up local turbulence; moving the heat to the shield and dialing back output is the power‑efficient way to keep both dew and seeing under control.
A night in a frozen field should end when you decide you have enough data, not when dew or a dying battery calls time. Treat dew control as a power system, not just an accessory, and with the right mix of shielding, smart heating, and disciplined energy budgeting, your heaters will still be quietly working when the sky starts to brighten.


Leave a comment
This site is protected by hCaptcha and the hCaptcha Privacy Policy and Terms of Service apply.