
This guide shows you how to safely inspect a shipped lithium battery for hidden internal damage before you install it in your home, RV, cabin, or off-grid system.
When a shipped battery shows any sign of abuse, treat it as a potential fire source first and a power upgrade second. Inspect it methodically, test it gently, and be ready to isolate it and demand a replacement.
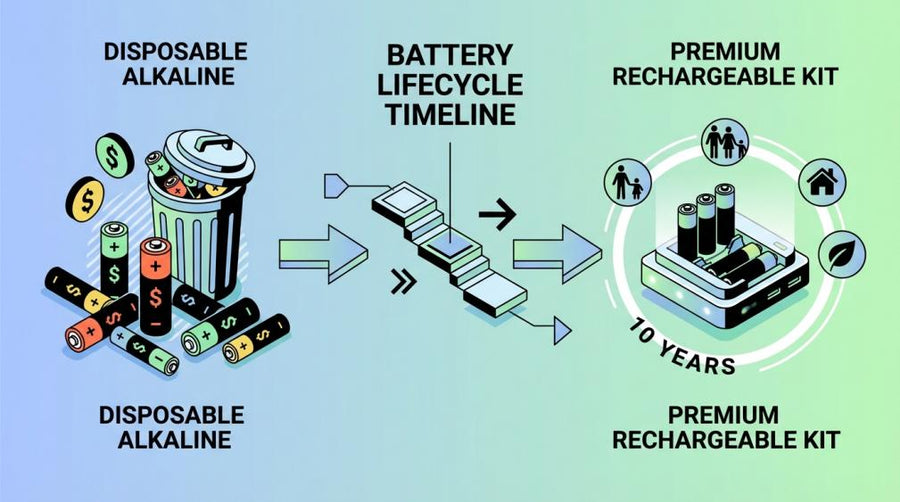
Your new battery arrives on the porch, the box a bit scuffed, and you can almost feel the energy you’re about to bolt into your cabin, RV, or shop wall. Some of the most expensive failures in home power upgrades begin when a damaged battery is installed on faith and only shows its scars once it overheats, swells, or quits under load. This guide gives you a clear, practical path from “package at the door” to “safe to turn on,” so you protect your home, your project, and your wallet.
Why a Perfect-Looking Battery Can Still Be Dangerous
Modern lithium batteries pack a lot of energy into a small box, and internal damage from drops, crushing, or punctures can leave them electrically unstable even when the outside looks clean. Warehouse operators who specialize in lithium products build detailed battery damage inspection protocols that treat any dent, bulge, leak, or suspicious packaging as a serious hazard, not a cosmetic issue. Once a battery is damaged or even just “suspect,” it is legally a type of hazardous material under DOT rules, subject to strict packaging, marking, and handling requirements that go well beyond normal returns, as summarized in federal PHMSA lithium battery rules.
Safety professionals point out that compromised batteries can leak flammable electrolyte or slip into thermal runaway, where an internal fault creates a self-heating reaction that is very hard to stop. Industrial safety guidance on damaged lithium cells describes how cracks, swelling, or moisture intrusion can turn a sealed battery into a fire and toxic-vapor risk during storage or transport.

Utility-scale operators who move stacks of end-of-life packs under damaged battery shipping regulations treat every “mystery battery” as dangerous until it passes inspection, and that mindset scales directly to the single pack sitting in your driveway.
The key point is simple: a clean label and shiny case are not enough. You need to read the whole scene—the box, the environment, the battery body, and basic electrical behavior—before inviting that energy into your system.
Step 1: Set Up a Safe Inspection Zone
Before you slice tape, move the package to a clear, nonflammable area with good airflow, away from children, pets, gas cans, and soft furnishings. Facilities guidance for damaged lithium batteries recommends keeping suspect units away from combustibles and ensuring ventilation in case vapors are present, and the same principle applies in a garage or driveway inspection.
Have a basic safety setup ready: a way to quickly get the battery outside if needed, a Class ABC fire extinguisher nearby, and eye protection if you will be close to terminals or damaged areas. Industrial handlers of damaged packs are advised to use goggles and gloves and to keep distance from compromised casings; you do not need a full hazmat outfit at home, but you should avoid leaning over a swollen or hissing pack.
As a real-world example, imagine a 100 lb wall-mount battery that has slid around in a truck all weekend.

If you open it in the middle of a cluttered workshop with cardboard, oily rags, and fuel nearby, you have created an easy path for a runaway event. Moving it onto bare concrete with space around it cuts that risk dramatically before you even look at the pack.
Step 2: Read the Box Like an Accident Report
The first layer of information is the shipping carton. Logistics specialists emphasize that packaging and labels are part of the damage story, not just wrapping, and they explicitly train staff to look at carton condition, label clarity, and storage history alongside the product itself in battery damage inspection protocols.
Walk around the box and pay attention to crushed corners, punctures, tears, water stains, or tape that looks like it was reapplied. A lithium box that has clearly been dropped hard enough to deform double-wall cardboard has seen an impact; industrial dangerous-goods standards even require packages to survive a 12-inch drop without exposing batteries under lithium-metal shipping standards. If your box looks worse than that, you should already be thinking “possible internal stress.”
Next, look for the hazard and handling marks. A compliant package carrying lithium batteries typically shows a Class 9 hazard diamond and a lithium-battery handling mark with a UN number such as UN3480 or UN3481, and safety training on lithium-battery packaging and labeling tips stresses that these labels must be legible and unobscured. If labels are badly scratched off, taped over, or mismatched with what you ordered, photograph them before opening and treat the entire shipment with caution.
If the box arrived hot from being left in direct sun for hours, let it cool to room temperature before you proceed. High heat is known to accelerate battery degradation and can mask early signs of trouble, which is why warehouses monitor storage temperature as part of their battery damage inspection protocols.
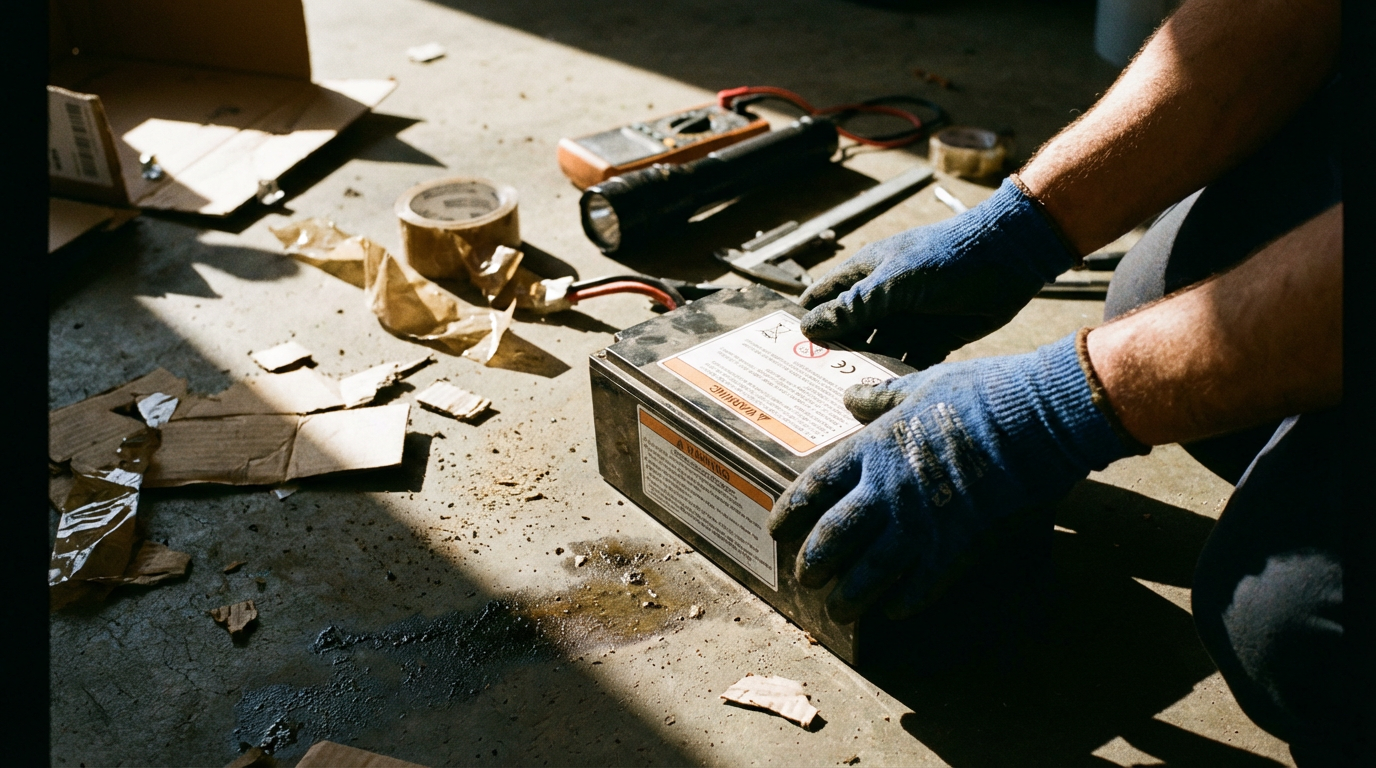
Step 3: Inspect the Battery Body for Subtle Clues
Once you open the carton, resist the urge to grab the battery immediately. Take a look at the inner packaging and padding, which should still be snug around the unit. Best-practice shipping guidance for lithium products calls for strong outer boxes and non-conductive cushioning that keeps batteries from shifting during transit, with terminals protected against short circuits in line with lithium-metal shipping standards. Loose inner packaging or exposed terminals are early warning signs.
Now scan the battery itself. Professional technicians start with a visual check for case damage, leaks, and terminal issues in any visual battery inspection, and you should do the same. Look for hairline cracks in plastic, bent or warped metal enclosures, bulging sides, lifted seams, wet or discolored areas around joints, or powdery deposits near fasteners or terminals. Any bulge, dent, or weeping fluid is a red flag for internal damage and possible future thermal runaway, consistent with safety advisories for damaged lithium cells.
A simple palm test helps: gently touch different sides of the pack. It should be at room temperature; a noticeably hot spot on an idle, unpacked battery suggests internal activity and demands immediate isolation. Listen and sniff as well. Clicking, hissing, or popping sounds and sharp chemical or solvent smells are classic warning signs cited in industrial handling guides for damaged lithium-ion batteries.
You can use the following table as a quick reference while you inspect:
Sign you see or feel |
Likely risk |
Typical action at this stage |
Bulging or warped housing |
Internal pressure or cell swelling |
Do not power up; isolate and report |
Cracked case or wet areas |
Electrolyte leak and short-circuit risk |
Isolate, ventilate, contact supplier |
Warm or hot spot when idle |
Internal fault or short |
Move away from combustibles, monitor |
Corroded or bent terminals |
Poor connection and overheating risk |
Request replacement, avoid sanding |
Clean case but crushed carton |
Possible hidden internal stress |
Continue testing, keep suspicion high |
If you hit any of the first three conditions, skip straight to isolation and documentation; do not hook that battery into your system just to “see if it works.”
Step 4: Do Basic Electrical Checks Without Abusing the Pack
If the battery passes the visual and smell tests, the next layer is gentle electrical checks. Auto-electric references and car-battery pre-delivery checks stress that no diagnosis of a charging system is meaningful until the battery has been inspected and tested, and that principle holds for home energy storage systems as well.
Start with open-circuit voltage using a digital multimeter. General resources on simple battery voltage testing explain how to set the meter to DC volts, place the probes on the positive and negative terminals, and read the value. For a 12-volt pack, automotive guidance indicates that a healthy, rested unit will often read in the neighborhood of 12.4–12.7 volts. Around 12.0 volts is commonly considered weak and a reason to challenge a “new” battery, as shown in car-battery pre-delivery checks and discussions of battery condition before auto transport. Your battery’s data sheet is the final word, but any reading drastically below expectations for a supposedly charged new pack is a strong signal that something went wrong before it reached you.
Keep this first test gentle. Do not immediately slam a brand-new lithium battery with a deep charge and discharge cycle the way you might “wake up” a lead-acid battery. Some shipping best practices recommend sending lithium packs at about 30 percent state of charge to reduce fire risk during transit, and then letting the receiving party top them up in a controlled way. After your open-circuit check, connect the battery to a manufacturer-approved charger or BMS for a short, supervised top-up; watch for rapid heating, swelling, or strange noises during the first minutes.
If your system design allows it, you can perform a light-load test such as running a modest DC load or inverter at a fraction of the battery’s rated current while monitoring voltage sag and temperature. Professional automotive and powertrain diagnostics treat such performance testing as the second stage after visual checks in a visual battery inspection. For a home power pack, any severe voltage drop, repeated protective shutdowns, or localized heating under a modest test load should push the battery into your “quarantine, not install” category.
Step 5: Decide Whether to Install, Monitor Closely, or Quarantine
At this point you have three layers of information: package condition, physical inspection, and basic electrical behavior. Hazmat specialists who work with end-of-life battery rules make decisions in a similar way, sorting batteries into “fit for use,” “safe to handle but not to ship as normal goods,” and “hazard to isolate.” You can adopt a simplified version of that logic at home.
Use the table below as a decision snapshot, always defaulting to caution if you have doubts:
What you observe overall |
Practical interpretation |
What to do |
Clean packaging, no damage, normal voltage, cool and quiet |
Low risk, normal new-battery behavior |
Install per manual, monitor first week |
Slight carton scuffs, clean pack, borderline low voltage |
Possible shelf or shipping stress |
Charge slowly, log readings, watch it |
Crushed or wet carton, any bulge/leak/heat, odd noises |
High risk, potential internal failure |
Isolate, document, push for replacement |
For border cases, such as a perfect-looking battery that arrives at a slightly low voltage or a battery that behaves well electrically but came out of a badly crushed box, lean toward close monitoring. Create a simple log for the first week that notes daily voltage at rest, any error codes from your BMS or inverter, any unusual temperatures, and how the battery behaves under typical loads. That log becomes evidence if you later need to argue that shipping damage showed up as early performance problems.
How to Document Damage So Sellers and Insurers Pay Attention
Third-party logistics providers emphasize that photos, notes, and system logs are what convince carriers, retailers, and insurers to take damaged-battery claims seriously, not just a phone call. Warehouses handling lithium products track every suspect unit with pictures, written inspection results, and system records as part of their battery damage inspection protocols, and you can follow a simple version of that playbook.
As soon as you suspect trouble, stop moving the battery and take photos from multiple angles: the unopened box if you still have it, the inner packaging, the labels, and every visible defect on the battery itself.

Include at least one wide shot that shows the overall setup and one close-up that shows each problem clearly. Snap a picture of your multimeter display during the open-circuit voltage test and write down the date and time.
When you contact the seller or installer, send a concise description: how the package looked on arrival, what you observed, the voltage reading, and any sounds, smells, or heat. If your inverter or BMS logs data, grab screenshots of error messages or unusual events from the first hours. This level of detail mirrors what carriers and regulators expect in damaged battery shipping regulations and will make it much easier to get an advance replacement authorized without a fight.
Can You Ship a Damaged Battery Back Yourself?
This is where many DIYers get into trouble. Once a battery is damaged, it falls into the most heavily regulated category of dangerous goods, and shipping it is no longer a normal consumer return. Federal DOT rules and international standards for lithium cells, summarized in PHMSA lithium battery rules, require specific packaging, state-of-charge limits, labels, and paperwork when batteries are defective, damaged, or recalled. Industry articles on damaged battery shipping regulations and how to ship damaged lithium batteries make it clear that the rules for these batteries are far stricter than for new or lightly used units.
Specialized guidance describes how damaged lithium-ion batteries are typically placed in insulation inside UN-rated steel or plastic containers, surrounded by non-combustible, non-conductive, absorbent material, then sealed and marked with a Class 9 hazard label and the correct UN number in line with lithium-metal shipping standards. Employees who prepare these packages are expected to complete hazmat training tailored to their duties, rather than relying on generic courses, as emphasized in damaged battery shipping regulations. On top of that, many carriers simply will not accept damaged lithium batteries from residential shippers at all.
For you as an off-grid system owner, that leads to a simple rule: do not put a damaged lithium battery in the mail or on a parcel truck on your own initiative. Isolate it in a cool, dry place away from combustibles, keep it off any chargers, and push the seller or manufacturer to provide a compliant return or disposal path. That may involve a prepaid pickup by a qualified carrier, a supplied UN-rated container and packing materials, or referral to a local recycling partner who already operates under end-of-life battery rules.
FAQ: Common “Gray Zone” Questions
The box was crushed, but the battery looks perfect and tests fine. Is it safe to use?
If the carton was badly damaged, treat the battery as “use with caution” even if it passes basic checks. Internal components can be stressed without obvious external signs, which is why professional logistics teams treat a clean-looking battery in a crushed box as a red flag in battery damage inspection protocols. Log its behavior closely for the first weeks and insist that any small anomaly—unexpected shutdowns, error codes, swelling, or new noises—triggers a warranty claim.
Can I “drop test” a large lithium pack like people do with AA batteries?
Simple drop tests where household batteries are bounced on a table to judge freshness are described for small alkaline cells in simple battery voltage testing but are not appropriate for large lithium or lead-acid batteries. Large packs weigh far more, can crack their own cases when dropped, and may already be stressed from shipping. Dropping them is more likely to create damage than reveal it; rely on careful visual inspection and multimeter testing instead.
How warm is too warm when I first charge a shipped battery?
A slight rise in temperature during a gentle first charge can be normal, but anything more than comfortably warm to the touch, especially localized to one area, is a warning sign when the battery has just been shipped. Industrial guidance on damaged lithium packs highlights that cracked cases and internal faults can lead to thermal runaway, and early localized heating is often the first hint. If you feel a hot spot forming, disconnect the charger, move the battery away from combustibles, and treat it as a damaged unit to be isolated and reported.
Closing Power Check
The moment a battery lands on your porch is your best chance to catch shipping damage before it becomes a hot, heavy problem bolted to your wall. Treat that first inspection like a safety-critical ritual: read the box, inspect the body, test the voltage, and choose clearly between installing, monitoring, or quarantining. Do that consistently, and every delivery moves you closer to a safer, more resilient power upgrade instead of a hidden time bomb in your off-grid system.