Out on the water, your DC system is part of your safety gear. It starts the engine, keeps navigation lights on, runs the bilge pump, powers radios and plotters, and often feeds an inverter. A modern lithium battery can make that system lighter, more efficient, and easier to live with. It can also become the weakest link on the boat if the installation is sloppy.
The goal here is simple: give boat owners a clear, practical way to install or upgrade a battery bank so it performs well and passes a hard look from any surveyor, electrician, or insurer.
How Do You Pick the Right Lithium Battery for Your Boat?
Choosing the right chemistry is only half the job. Voltage, capacity, and role on the boat matter just as much.
Match Voltage to Real Loads
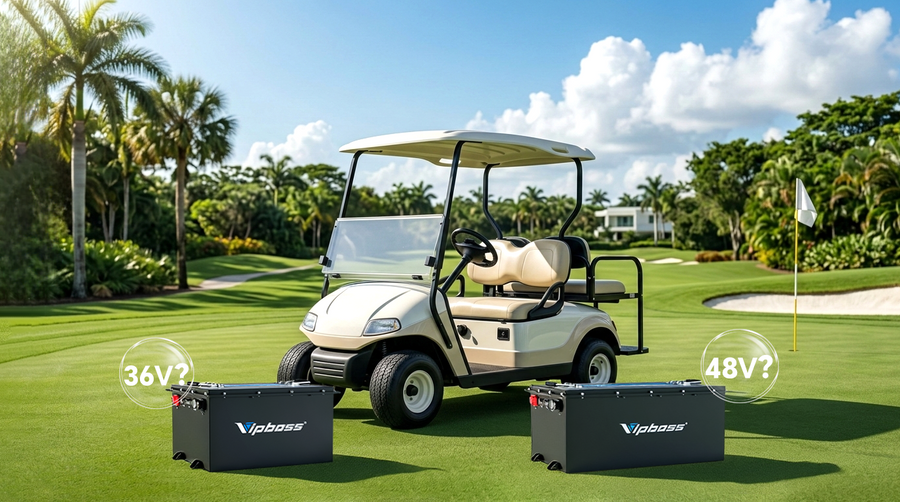
Most small and mid-size boats still run a 12V DC system. Lights, pumps, instruments, stereo, and many OEM accessories are built around it. In that case, a 12V lithium battery is the natural upgrade path for the house bank. You keep the same architecture, yet gain more usable amp-hours and a big weight reduction.
High-draw equipment changes the picture:
- Trolling motors
- Electric outboards
- Large windlasses and thrusters
- Big inverters for cooking or cabin loads
For these, higher voltage pays off. A 48V lithium battery propulsion bank can deliver serious power with far lower current than an equivalent 12V system. Lower current means smaller cable sizes, lower losses, and less heat at terminals and breakers.
A simple way to decide:
| Use Case | Typical Choice | Reason |
| Small boat, basic DC loads | 12V house bank | Matches existing wiring and equipment |
| Fishing boat, big trolling motor | 24V or 36V bank | Better efficiency for long trolling days |
| Electric propulsion / heavy AC | 48V main DC bus | High power with manageable current levels |
Size Capacity Around Daily Use
Oversizing a bank "just in case" sounds attractive. In reality, capacity should follow real consumption:
- Add up typical daily loads in amp-hours.
- Multiply by a safety factor for bad weather or night passages.
- Compare that number to the usable capacity of your chosen bank.
Lithium allows deep cycling with far less penalty than lead-acid, so you do not need to chase enormous nameplate numbers to get real endurance.

Keep Starting and House Separate
Cranking an engine and running a fridge are very different jobs. Let one battery or dedicated bank handle starting, and let the deep-cycle bank handle house loads and propulsion. Keeping those roles separate simplifies fault-finding and avoids situations where a fridge drains the only battery that can turn the key.
Where Should You Install Lithium Batteries on a Boat?
Location is where many otherwise good projects go wrong. The wrong compartment turns a quality bank into a constant worry.
Stay Dry and Accessible
Batteries should live above normal bilge water, away from areas that routinely collect spills. A raised locker, dedicated battery compartment, or sealed box gives the best odds of staying dry. You still plan for the odd splash, yet standing water around the cases is a sign something needs to change.
Access matters too. You will eventually need to reach each terminal, fuse, and switch without dismantling half the cabin. A neatly wired lithium battery bank that no one can reach safely is not really a neat installation.
Ventilation and Heat
LiFePO4 chemistry does not gas in the same way as flooded lead-acid, so you are not chasing hydrogen vents. Heat still matters, though:
- Keep the bank away from hot exhaust parts and uninsulated engine surfaces.
- Leave some air volume around the cases so heat from the BMS and cabling can dissipate.
- Avoid stuffing batteries into dead-air spaces where nothing can breathe.
If you would not be comfortable sleeping in that compartment on a summer day, it is probably too hot for your energy storage as well.
Mounting That Survives Waves, Shocks and Vibration
A battery that shifts an inch in a driveway might move a foot in heavy chop. The mounting should feel as if the hull might fail before the bank comes loose.
Build a Solid Base
Good mounting starts with structure:
- Tie trays or platforms into bulkheads, stringers, or other solid members.
- Use non-conductive cradles that match the case dimensions closely.
- Block the bank in every direction, so it cannot slide under any combination of roll, pitch, and slam.
Metal hold-downs are fine if they are insulated from terminals and live parts. Terminal boots and covers are cheap insurance against tools, anchors, and loose gear landing where they should not.
Control Vibration and Cable Strain
Wave impacts and engine vibration can fatigue more than metal. Circuit boards, welds, and bus bars inside a lithium battery bank also feel those loads over time.
A few simple checks help:
- After the first few rough trips, retighten straps and inspect mounting bolts.
- Look for marks on trays and cases that show movement or rubbing.
- Support heavy cables so they do not hang on terminals. Let brackets and clamps carry the weight instead.
If you can grab the bank with both hands and rock the whole boat without any visible movement of the cases, the mounting is probably on the right track.

Wiring a Marine Lithium Battery System the Safe Way
Wiring is where many fires start and where many owners feel least confident. A little discipline here pays off for years.
Choose Marine-Grade Cable and Terminations
Marine DC systems live with moisture, salt, and constant motion. That environment rewards better materials:
- Pick tinned copper cable with insulation rated for oil, heat, and water.
- Avoid generic automotive wire that corrodes quickly and has thin jackets.
- Use proper crimp lugs and a real crimping tool, then seal with adhesive heat shrink.
Route positive and negative conductors together when possible. This makes harnesses easier to support and reduces interference with sensitive electronics.
Plan for Voltage Drop and Charging Behavior
High current and long runs can waste power and stress components. For critical loads such as bilge pumps or navigation gear, many installers aim for only a few percent voltage drop at normal operating current.
Charging deserves the same level of thought. Alternators, shore chargers, solar controllers, and DC-DC units must be set to a profile that suits a marine lithium battery bank, including:
- Appropriate absorption voltage and time
- Conservative float behavior, if any
- Current limits matched to both cable sizing and battery specs
Following the battery manufacturer's charging recommendations protects both the bank and your charging hardware.
Fuses, Breakers and the Safety Devices You Can't Skip
Every conductor that can carry dangerous current needs a way to shut that energy down when something goes wrong.
Main Overcurrent Protection
The primary protection usually lives close to the bank:
- A main fuse or high-interrupt breaker within a short distance of the positive terminal
- Ratings matched to expected continuous current and realistic fault current
- Hardware mounted where it can be inspected and reached in an emergency
A powerful bank, especially one built from a lithium battery array, can deliver very high short-circuit current. The main device needs enough interrupt capacity to clear that fault cleanly instead of welding shut.
Branch Circuits and Switches
From the main supply, each major load should have its own protective path:
- Branch fuses or breakers for the DC panel, inverter, windlass, thruster, and chargers
- Clear labels so the crew can see at a glance which circuit has tripped
- Battery switches that isolate the house bank and the starting battery independently
For banks built from multiple 12V modules in series, a 12V lithium battery disconnect that opens the whole string is often paired with a remote-operated contactor. That way, the helm can shut the system down without climbing into a hot, cramped compartment.
Protection devices and switches do not replace the internal BMS. The management system looks after the cells. Fuses and breakers look after the boat.
Final Lithium Battery Safety Checklist Before You Leave the Dock
Once the hardware is in place, a short routine before each trip keeps surprises small and rare. It takes only a minute or two.
You might walk through something like this:
- Look over the bank. Cases should be clean, free of cracks, bulges, or stains.
- Tug each strap or bracket. Nothing should move or rattle.
- Check terminals for tightness, covers in place, and no green corrosion.
- Glance at the main fuse or breaker for any discoloration or damage.
- Confirm the state of charge and healthy readings on your monitor or app for the lithium battery bank.
- Make sure the area around the compartment is dry, with no fuel odor.
- Clear any gear off vents, cables, and battery boxes.
Done regularly, this routine builds a mental picture of what "normal" looks like on your boat. Small changes become obvious, and most problems get caught early, long before they affect you out on open water.
A well-planned marine battery installation does not feel dramatic. It quietly supports everything else, trip after trip. When the bank is chosen carefully, mounted like it belongs in heavy weather, wired with proper cable and protection, and checked with a calm eye before departure, it becomes one of the most reassuring systems on board.
FAQs About Marine Lithium Battery Installation
Q1. Do I need a special charger for a marine lithium battery?
Yes. Use a charger with a dedicated LiFePO4 or lithium profile. It should match the bank voltage (12V or 48V), respect the recommended absorption voltage, avoid long high-voltage float, and limit current to both cable and battery specifications.
Q2. Can I run lithium and lead-acid banks on the same boat?
You can, as long as each bank has its own appropriate charging path. Avoid hard-paralleling lithium and lead-acid. Use DC-DC chargers or separate alternator outputs so each chemistry sees the correct voltage and current without fighting the other bank.
Q3. How does cold weather affect marine lithium battery installation?
LiFePO4 cells dislike charging below freezing. Choose packs with low-temperature charge protection, mount them away from uninsulated hull surfaces, and consider light insulation. Routing cables through warmer interior spaces also helps maintain performance in early-season or high-latitude conditions.
Q4. Which standards should a marine lithium installation follow?
In North America, installers commonly reference ABYC E-11 for DC systems and E-13 for lithium batteries. These standards guide cable sizing, overcurrent protection, labeling, and isolation. Aligning your layout with them helps with safety inspections, surveys, and insurance reviews.
Q5. How often should I inspect a new lithium battery installation?
Right after commissioning, inspect mounts, terminals, and fuses after the first few trips in rough water. Later, a quick visual check before outings plus a deeper annual inspection of cable supports, lugs, and enclosures keep emerging issues small and manageable.