


A fresh LiFePO4 pack changes how your cart climbs and how often you plug in. It also breaks a few old habits. Lead-acid float and equalize modes don’t apply here; LiFePO4 wants a precise top voltage and a sensible current. Charging below 32°F risks damage, oversizing current wastes heat, undersizing stretches charge time, and sloppy wiring adds resistance that makes the charger quit early. The upside is simple: a handful of numbers and a short routine keep your golf cart battery healthy all season. Start with the two settings that matter most, then lock in a repeatable pattern for every course day.
What Voltage and Current for a 48V Lithium Golf Cart Battery?
A 48-volt LiFePO4 pack is typically 16 cells in series. Full charge occurs near 3.65 volts per cell, so your system target is about 58.4 V. Most spec sheets specify a practical window of 56.8–58.4 V. Staying inside this range reaches full change without holding cells at the top longer than needed.
Size daily charge current at about 0.2–0.3C. For a 105 Ah pack, that is roughly 21–30 A. For 150 Ah, about 30–45 A. Higher rates may be allowed occasionally, yet this moderate band keeps heat reasonable and still finishes in good time. During the constant-voltage phase, end the session when the tail current tapers to a small fraction of capacity, around 0.05C. Avoid leaving a 48V lithium golf cart battery parked at 100 percent for days.
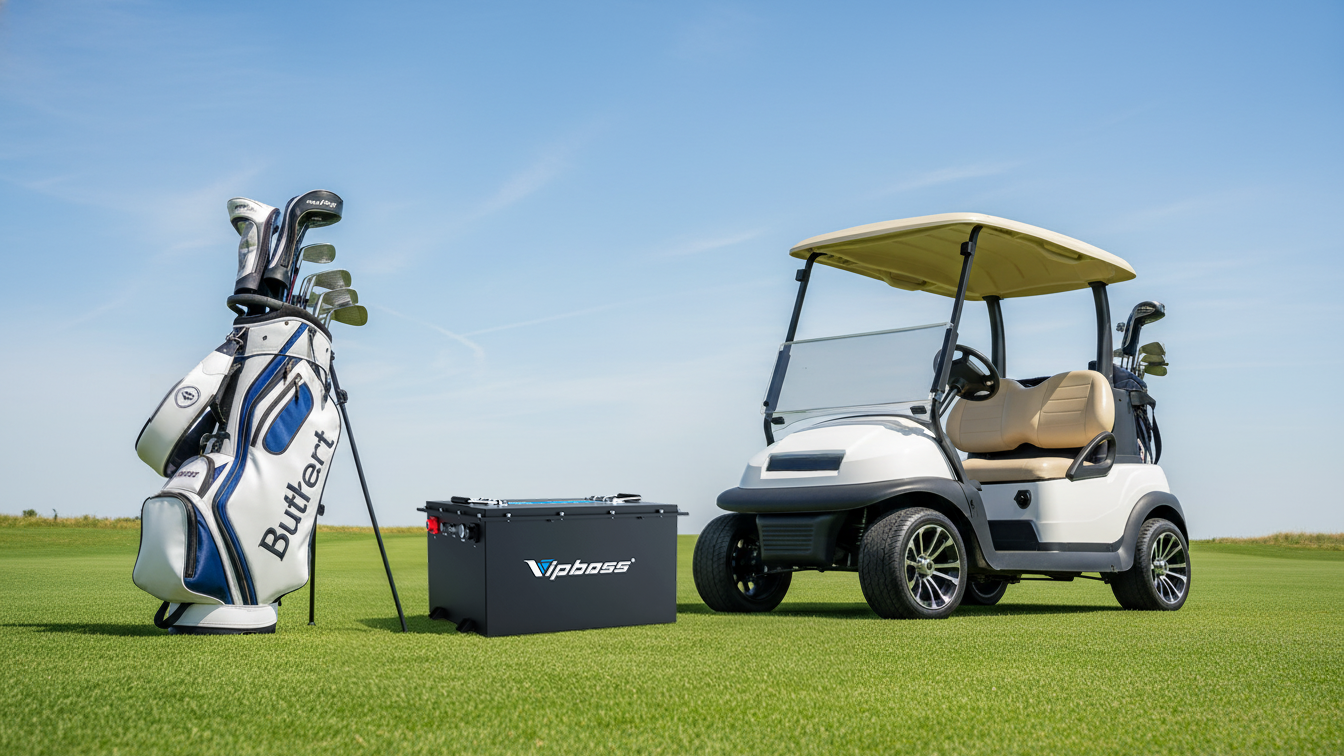
How to Pick a Charger for 48V Golf Cart Batteries
Choosing well at the start makes every session simple and predictable. A few hard checks on specs plus a couple of practical features will save time, reduce heat, and protect your investment. Work through the checklist and confirm each item before you buy or plug in.
Chemistry Match
- Select a charger designed for LiFePO4 with a constant-current / constant-voltage (CC/CV) profile.
- Fixed output near 58.4 V at the terminals, verified on the label or in the manual.
Current Rating
- Align the charger’s amperage with your routine plan of 0.2–0.3C.
- Choose the lower end for cooler, gentler sessions or the higher end for quicker turnarounds, within published limits for 48V golf cart batteries.
Protection and Practical Features
- Temperature protections that pause charge outside safe limits.
- Recovery or 0-volt activation to wake a protected pack.
- An enclosure suited to your space, with dust or moisture protection for garages and sheds.
- Readouts or an app showing voltage and amperage so you can stop at the correct tail current.
Cables and Connectors
- Correct gauge for the run length and current to minimize voltage drop.
- Quality lugs or a locking connector to reduce contact resistance.
What not to Use
Avoid lead-acid chargers. Equalize and float stages do not match LiFePO4 behavior and can cause chronic undercharge, unnecessary top-hold, or repeated protection trips that shorten service life for a golf cart battery.

First Charge and Daily Routine for a Lithium Battery for Golf Carts
Treat the first charge like a systems check. It sets your baseline for every session that follows. Use this first run to confirm the target voltage, watch current taper, and verify your wiring choices. The notes you make here will solve most future mysteries in minutes.
First Charge: Five Steps
- Park in a ventilated area, power the cart down, and confirm polarity at both ends.
- Inspect cable gauge and terminals, then tighten to the recommended torque. Clean contact surfaces.
- Connect to the battery first, then plug into AC power.
- Watch the constant-current stage transition into constant-voltage near 58.4 V.
- When the current falls to a small tail value around 0.05C, end the session, power down, and recheck connections.
If the battery arrived cold, let it warm to room temperature before charging a lithium battery for golf carts.
Daily Routine: Six Steps
- Recharge after use so the pack spends minimal time near empty.
- Provide airflow around the charger and pack.
- Start charging and confirm the voltage climbs smoothly.
- During constant-voltage, allow current to taper on its own.
- Stop at a low tail current or when the display reports full.
- Unplug the AC, then disconnect the charger leads, and give a quick cable check.
Every few weeks, allow one full charge to complete cell balancing. Between full charges, partial top-ups work well for a golf cart battery used frequently.
How Long Will It Take? Quick Math
Charging time is roughly capacity divided by charger amps, multiplied by a small factor for taper and losses of 1.1–1.2.
| Capacity | Charger Current | Estimated Time |
| 105 Ah | 18 A | about 6.4–7.0 h |
| 105 Ah | 30 A | about 3.7–4.2 h |
| 150 Ah | 18 A | about 9.2–10.0 h |
| 150 Ah | 30 A | about 5.5–6.0 h |
The table assumes starting from a low to mid state of charge. Actual time varies with temperature, cable losses, and your tail-current threshold.
Temperature, Storage, and Balancing for 48V Golf Cart Batteries
Temperature rules come first. Do not charge at or below 32°F, which equals 0°C. Cold charging risks internal plating that damages cells. Many users see the best results between 50°F and 113°F, which equals 10°C to 45°C. On hot days, reduce charge current, move air across the charger, or schedule sessions for cooler hours. Keep an eye on the case temperature. Warm to the touch is expected. Too hot to hold means stop and investigate.
Plan storage with the same care. For a pause longer than a month, leave the pack near 40–60% state of charge and top it up briefly every two or three months. Before storage, do one full charge so balancing can finish. Disconnect accessories that draw standby current. A small parasitic load can pull a pack down over weeks and trigger protection. These habits protect a golf cart battery through seasonal downtime.

Safety and Troubleshooting for a Golf Cart Battery
Good habits prevent most surprises. Use cable gauge sized for your current and run length, tighten terminals, and keep the area dry and clear. Avoid charging in an enclosed vehicle cabin; pick a dry, ventilated area with the charger off the floor. Do not charge in standing water. Avoid covering a hot charger or stacking items on top. Supervise the first sessions until you learn the system’s rhythm and note typical times and temperatures.
- Charger will not start. Confirm AC power, breakers, fuses, and polarity. If pack protection is active, a LiFePO4-compatible recovery mode can help. A case that feels cold in winter often points to temperature lockout.
- Charging ends too soon. Inspect terminals for resistance, verify the end-voltage setting near 58.4 V, and check the tail-current threshold on smart chargers.
- Charging feels slow. Compare the labeled current with the live output. Long or thin extension cords cause a voltage drop. High ambient temperature stretches the taper phase.
- Indicators look wrong. Cross-check with a voltmeter at the battery posts and compare with the charger display. Keep meters dry and mounted where you can see them.
When troubleshooting becomes frequent, it may be time to consider battery replacement.
Charge Smart to Protect Your 48V Golf Cart Battery
A few settings and habits deliver most of the benefit. Aim for the correct voltage target, size current with care, use a LiFePO4-compatible charger, and charge within a friendly temperature range. Build a routine you can repeat without thinking. Expect reliable range on course days, steady hill performance, and a long service life. Take two minutes now to confirm your charger’s voltage and current, then bookmark this guide so the next session is easy and predictable.
FAQs about LiFePO4 Charging
Q1. Can I charge a 48V LiFePO4 golf cart battery from solar?
Yes, with a LiFePO4-compatible MPPT sized for 48V packs. Wire PV through DC fuses and a disconnect, confirm the charger’s absorption/termination settings, and mount hardware in ventilated, dry locations. Expect modest mid-day rates; log Wh to validate panel placement and yield.
Q2. How do I charge two 48V packs in parallel safely?
Only parallel packs approved by the manufacturer. Match chemistry, capacity, age, and state-of-charge first. Use a common busbar, identical-length cables, and individual fuses per pack. One charger can feed the bus; monitor temperatures. If behavior diverges, separate and charge individually.
Q3. What extension cord and outlet should I use for high-amp chargers?
Use a dedicated, grounded circuit with GFCI near wet areas. For 15–30 A chargers, choose heavy cords: typically 12 AWG up to ~50 ft, 10 AWG for longer runs. Fully uncoil cords, inspect plugs for warmth, and avoid daisy-chaining power strips.
Q4. My SOC meter drifts, how do I recalibrate without deep discharges?
Coulomb counters drift over time. Perform a full, normal charge to 100%, let the pack rest, then sync the meter if supported. Validate with rested terminal voltage. Update monitor firmware, and periodically repeat after typical use. Avoid artificial deep cycles solely for calibration.
Q5. What should I do after rain intrusion or salty air exposure?
Dry the battery bay thoroughly, blow out connectors with clean, dry air, and inspect for green or white corrosion. Clean housings, not open contacts, with fresh water. After drying, apply dielectric grease to terminals, torque hardware, then resume charging and recheck.


Leave a comment
This site is protected by hCaptcha and the hCaptcha Privacy Policy and Terms of Service apply.