What ruins a great campsite is uncertainty. Will the fan run through a humid night, will the microwave trip the system, will there be enough for another laptop session? The way out is simple math tied to your habits. Once you total daily watt-hours, you can set the RV lithium battery size with confidence, pick the right system voltage, and plan charging so mornings start smooth every time.
How to Size Your RV Lithium Battery Bank in Five Minutes
Start from energy, then translate to amp-hours. Make a quick device list, multiply watts by hours to get daily watt-hours, adjust AC loads for inverter losses, and convert the result to amp-hours at your system voltage. This turns vague guesses into a clear target you can buy and build around. It also creates a baseline for future upgrades, because you can revisit the same sheet whenever gear changes.
Three steps you can reuse in any rig
- Add up the daily Wh for all DC loads.
- For AC loads that run through an inverter, divide their Wh by a realistic efficiency and add the result to the total. For planning, many pure-sine models land around ninety percent efficiency.
- Convert to amp-hours: Ah = Total Wh ÷ System Volts. Size for usable capacity. With LiFePO₄, many planners assume about 80 percent usable for long life, then add 20–30 percent headroom for weather swings, aging, and colder days.
One-line planner: Required Ah ≈ (Total Wh / System Volts) ÷ 0.8 × 1.2
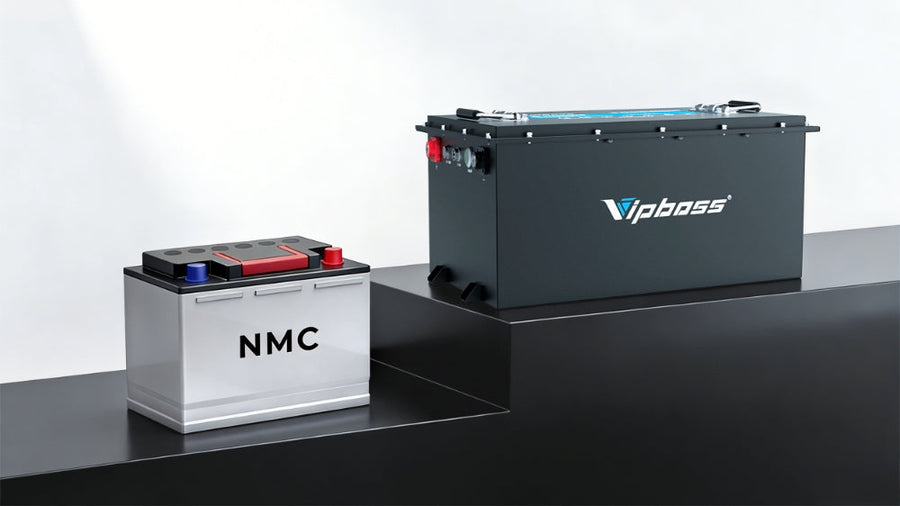
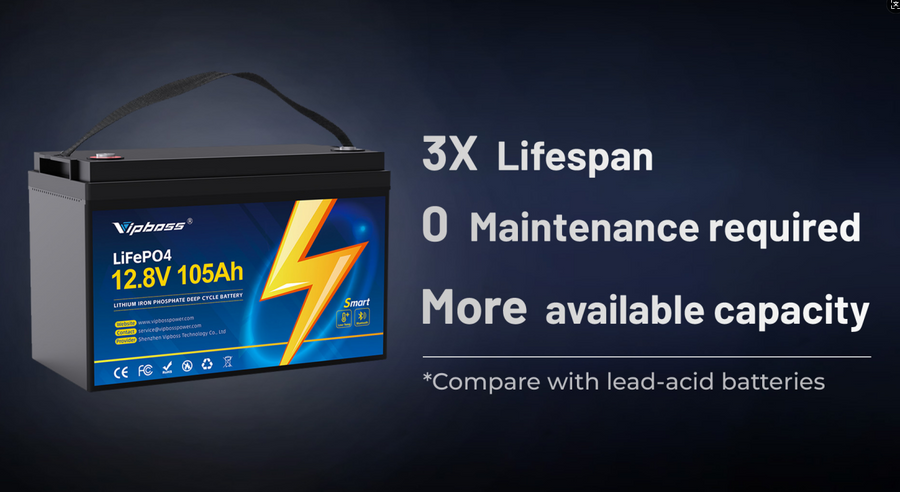
Why this fits an RV lithium battery bank? LiFePO₄ holds voltage flatter across the cycle and tolerates repeated partial cycles, so the Wh-to-Ah translation stays consistent once you decide on a depth-of-discharge target.
Weekend or Full Time Choose Your 12 Volt Lithium Battery
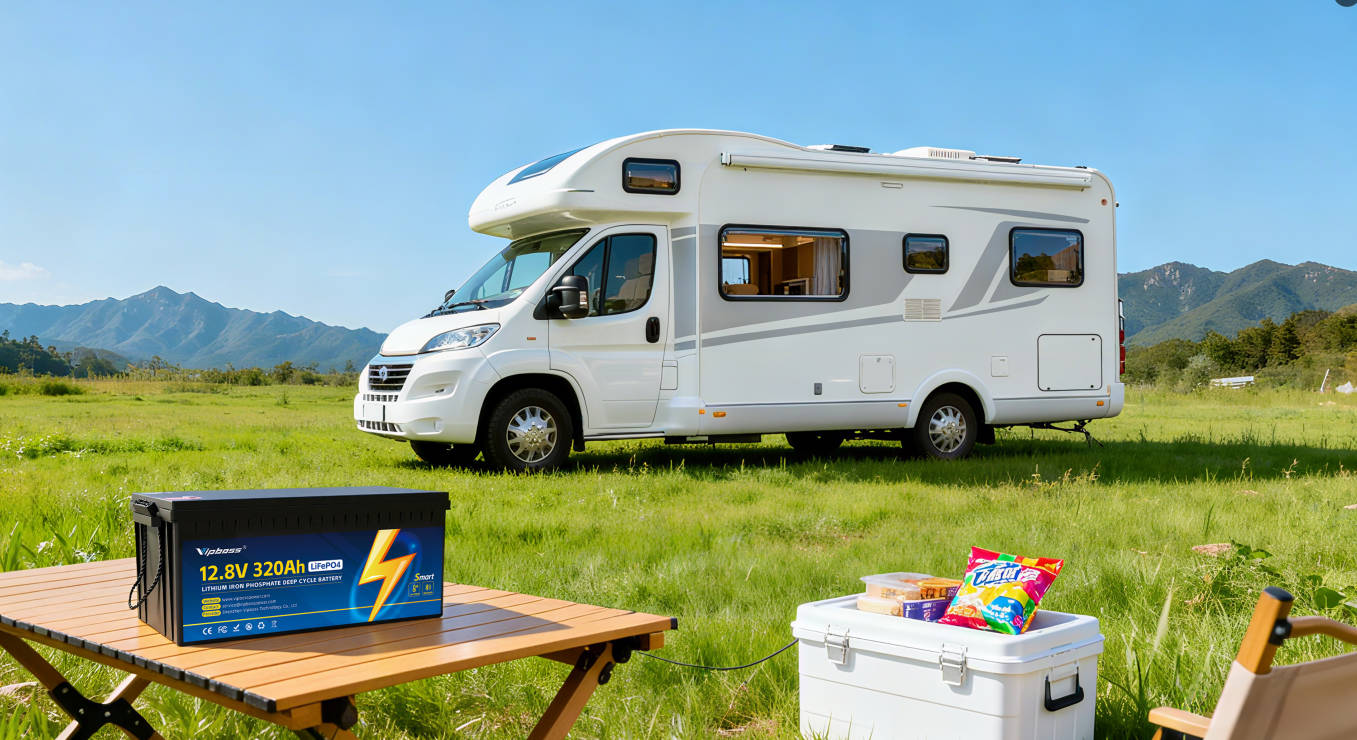
Most RVs begin on 12 V for good reason. The ecosystem is simple, parts are easy to find, and many appliances already expect it. What changes sharply is the pattern of use. A quiet two-day escape barely resembles full-time life on wheels, and your bank should reflect that reality. Use the load sheet you just built, then walk through the two examples below to see where your daily Wh lands and how that translates into a bank you can live with comfortably.

Typical daily loads you can copy into your sheet
| Load | Power | Hours per day | Type | Daily Wh |
| 12 V compressor fridge | 40–60 W average | 24 duty-cycled | DC | 240–600 |
| LED lights | 10–15 W | 4 | DC | 40–60 |
| Vent fan | 30 W | 4–6 | DC | 120–180 |
| Water pump | 60 W | 0.3 | DC | 18 |
| Phone charging | 10 W | 2 | DC | 20 |
| Laptop | 60 W | 2–4 | AC via inverter | 120–240 |
Fridge energy swings with heat, set point, and door opens. Planning with a 240–600 Wh per day range keeps expectations honest.
Weekend light-load example
DC subtotal is about 598 Wh. Laptop 120 Wh ÷ 0.9 ≈ 133 Wh. Total ≈ 731 Wh.
Sizing on 12 V with the planner: 731 ÷ 12 ÷ 0.8 × 1.2 ≈ 91 Ah. Round to 100 Ah for a one-day buffer. Prefer two days without charging. Plan near 200 Ah. A 12-volt lithium battery around 100–200 Ah covers most short trips.
Full-time heavier-load example
DC: fridge 600 Wh, lights 60 Wh, fan 180 Wh, pump 18 Wh, router 80 Wh. Subtotal 938 Wh.
AC: laptop 240 Wh, microwave 170 Wh, coffee maker 136 Wh, CPAP 320 Wh. Adjusted through inverter (866 ÷ 0.9) ≈ 962 Wh.
Daily total ≈ 1,900 Wh. On 12 V that becomes 1,900 ÷ 12 ÷ 0.8 × 1.2 ≈ 238 Ah. A practical target is 240–300 Ah for one solid day; scale up for multi-day autonomy or heavier appliance use.
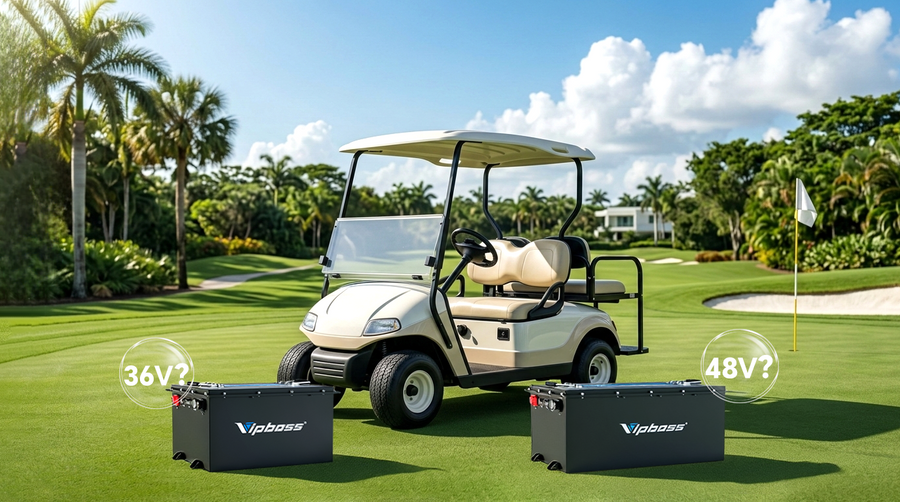
Move to 48V and Pick a 48V Lithium Battery Charger
High power at 12 V means large currents and noticeable voltage drop. When inverter size climbs or daily energy pushes into multi-kilowatt-hours, stepping up the bus voltage makes the system calmer and wiring easier. This quick picker helps set the tier before you order parts.
Voltage tier quick picker
| Inverter continuous | Suggested bus | Why it helps |
| Up to about 1500 W | 12 V | Short cables and moderate surge currents are manageable |
| About 1500–3000 W | 24 V | Cuts current in half and keeps cable sizes reasonable |
| 3000 W and up or daily energy 3–5 kWh and above | 48 V | Tames current and voltage drop on longer runs and larger banks |
Selecting a 48V lithium battery charger is mostly about matching the pack architecture. A common 16-cell LiFePO₄ stack has a nominal 51.2 V and a typical full charge near 58.4 V in CC-CV charging. Confirm the constant-voltage setpoint and current limit in your battery’s datasheet, then set the charger accordingly. That one step protects the cycle life and keeps your lithium RV battery bank predictable under load.
How Fast Can You Recharge an RV Lithium Battery
Estimate how many Wh you need to put back. A 200 Ah 12 V bank at 20 percent state of charge, charging to 90 percent, needs roughly 70 percent of capacity restored. That works out to 0.7 × 200 Ah × 12 V ≈ 1680 Wh.
- Planning formula: Charge time ≈ Needed Wh ÷ (Charge Volts × Charge Amps × efficiency) × 1.1
- Shore example: A 30 A 12 V charger at 14.4 V delivers about 432 W DC; net after losses might be around 390 W. 1680 ÷ 390 × 1.1 ≈ 4.7 hours from 20 to 90 percent.
- Large bank example: A 20 A charger at 58.4 V supplies about 1.17 kW before losses. Use the same model with your numbers and BMS limits.
- Solar day planning you can do quickly: Daily solar Wh ≈ Array Watts × Peak Sun Hours × System Efficiency
If you carry 400 W of panels, see 5 PSH, and assume 0.75 net efficiency for controller, wiring, and temperature, your day might yield 400 × 5 × 0.75 ≈ 1500 Wh. Compare that to your daily use. Many travelers time big AC loads for late afternoon or evening so midday sun goes straight into the bank. Keep cable runs short and heavy so the charger senses real battery voltage. Verify that low-temperature charge rules in the BMS match the places you camp.
Using these habits, an RV lithium battery bank refills in predictable windows instead of running late into the night.

Wiring and Protection for an RV Lithium Battery
Correct wiring and protection keep the system steady under surge, cut voltage drop, and prevent nuisance shutdowns. Sloppy cabling wastes power as heat and makes a healthy bank look weak. Treat the rules below as your minimum standard, and you will avoid most wiring headaches in an RV lithium battery setup. The goal is simple. Protect the conductors, limit drop, and give current clean paths in and out of the bank.
- Fuse or breaker to protect the wire. Place the primary overcurrent device as close to the source as practical, size it to the conductor’s ampacity, and respect enclosure rules for any extra inches you need.
- Give yourself a clear voltage-drop target. For feeders and sensitive circuits, plan around a 3 percent drop. Less critical branches can tolerate a bit more, though many installers still aim tighter when space allows.
- Pick a wire for ampacity and drop. Long DC runs at high current need a thicker cable. Use a calculator that lets you set the drop target and temperature rating so the choice is grounded in numbers.
- Parallel correctly. If you parallel modules, route each battery to the busbars with similar cable lengths and gauge so resistance stays consistent and current shares well. Fuse each parallel string so a fault cannot pull uncontrolled current from the others.
- Use real busbars and quality terminations. A tidy bus with proper studs and hardware simplifies service and makes voltage-drop issues easier to chase. Keep terminations clean, tight, and strain-relieved.
These habits keep conductors cool, protect equipment, and preserve the actual performance you paid for.
Lock in Your RV lithium battery Size and Start Building
Run the three-step planner with your devices, once for a light-use day and again for a heavy-use day. Convert Wh to Ah at your system voltage, plan on around 80 percent usable with headroom, and set your charger for the proper LiFePO₄ voltages. If the current at 12 V looks unruly, step up to 24 V or 48 V and choose a charger that matches the pack’s full-charge setting. Finish with a simple protection plan, short heavy cables to clean busbars, and equal-path wiring if you parallel. That sequence gets your RV battery bank sized to your camping style and ready for clean upgrades later.
FAQs about RV lithium battery Bank
Q1. What state of charge is best for storage?
Store LiFePO₄ around 40–60% SOC, disconnect parasitic loads, check BMS current, top up quarterly, and keep 10–30°C to limit aging.
Q2. How can I measure SOC accurately in an RV?
Use a shunt-based coulomb counter calibrated to your battery, not voltage-only estimates; reset after full charge to maintain accuracy periodically. Accurate SOC estimation methods enable real-time charging monitoring for optimal battery performance.
Q3. Does elevation change how I configure charging?
Yes, high elevation reduces convective cooling; derate inverter-charger output and verify fan airflow, especially in sealed compartments during summer charging operations.
Q4. How should I integrate a generator without nuisance trips?
Pair generators with inverter-chargers using power-assist or input current limits to prevent tripping campground breakers while maximizing charge rate safely.
Q5. What’s the safe approach to winter charging?
Below freezing, enable battery heaters, pre-warm the enclosure, or charge slowly; many BMS block charging under 0°C to protect cells entirely.